Technique
How to Make Paper Look Old: Crumple, Stain and Age It
Written by Froissage Editorial Team · Updated
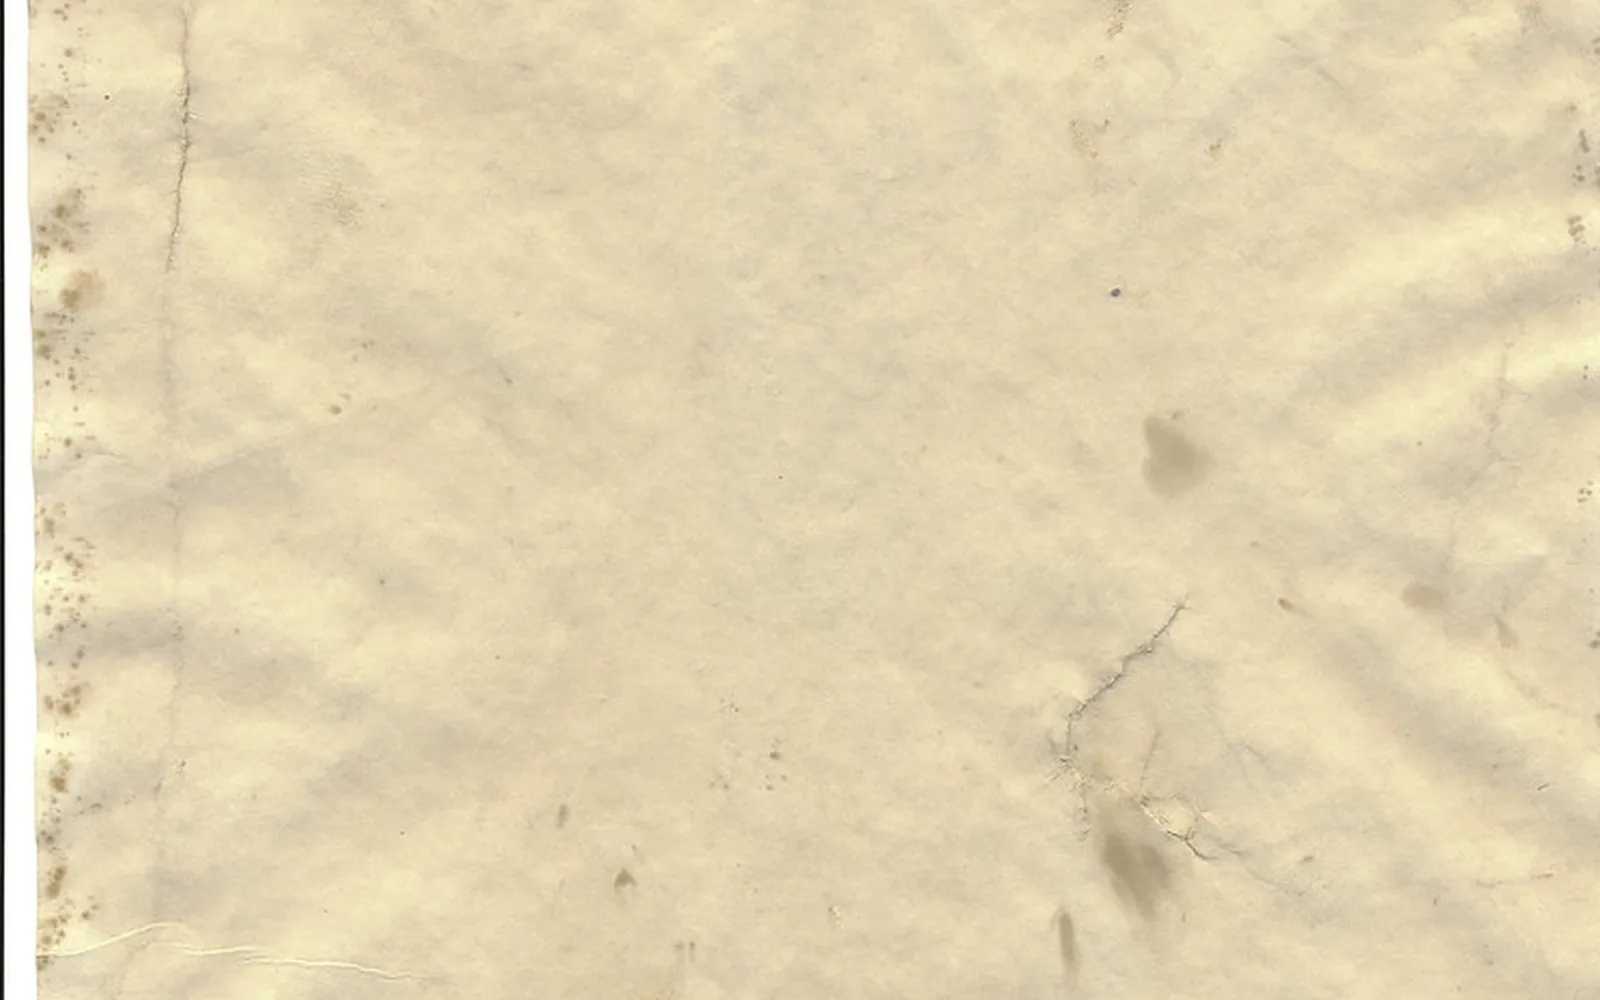
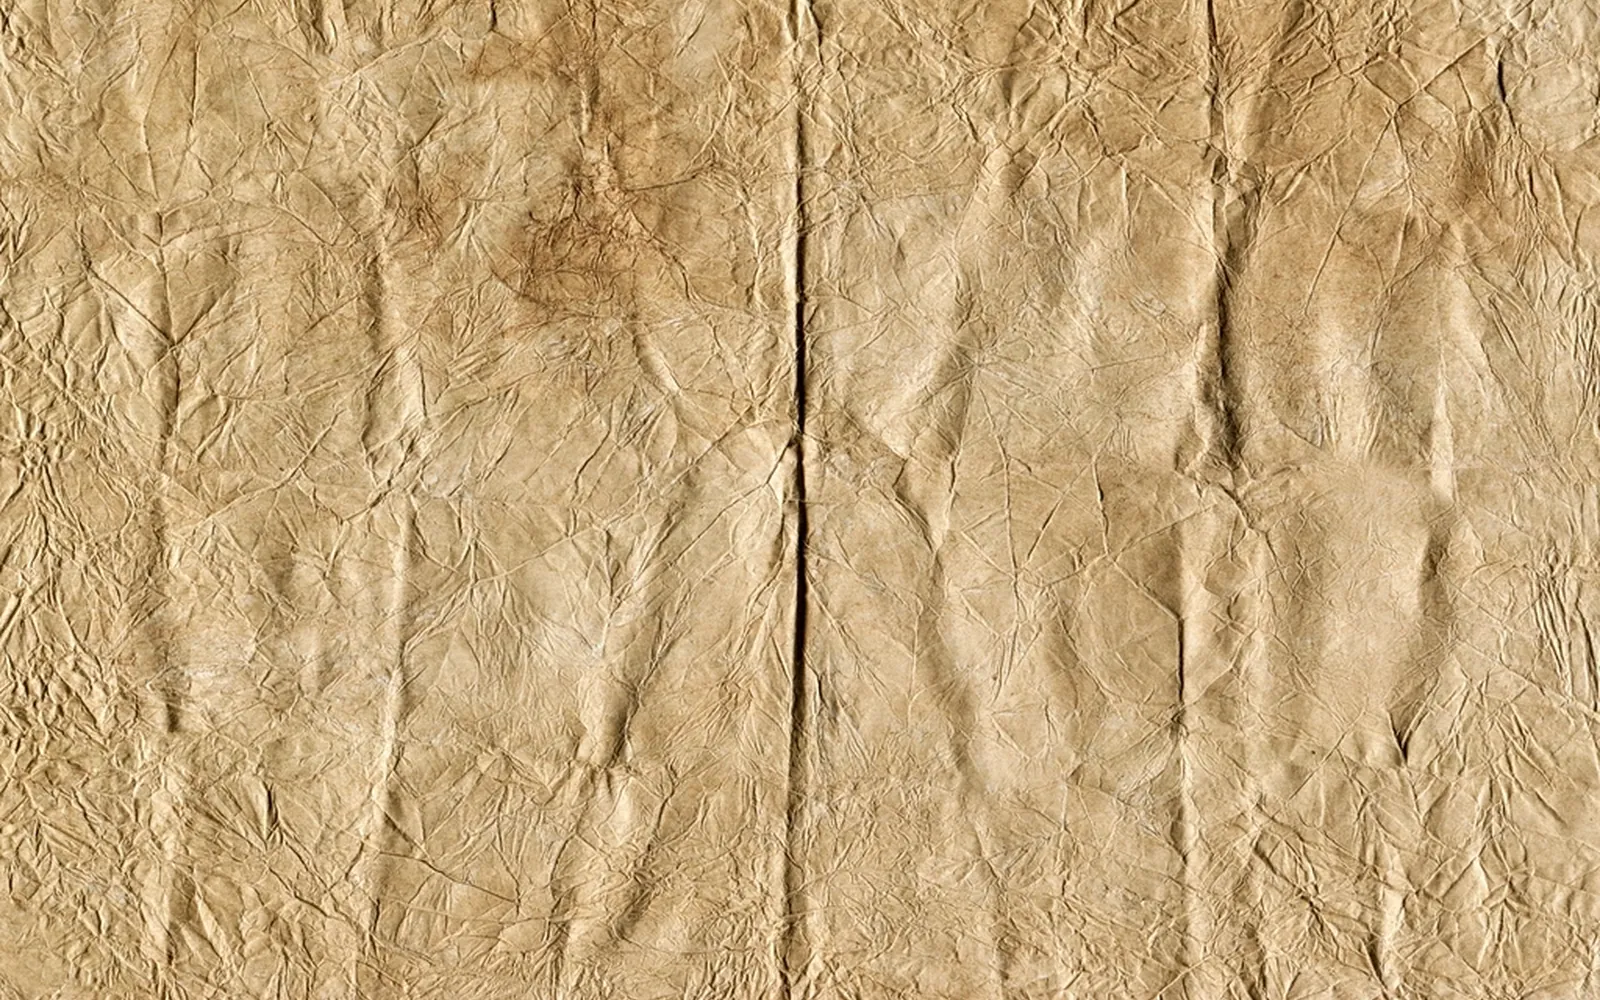
If you want to know how to make paper look old, start where froissage starts: crumple the sheet. A fresh sheet stained with tea looks like a fresh sheet stained with tea. A sheet that has been crumpled, flattened and then stained looks as if it has spent decades in a drawer, because the colour settles in the creases exactly as dirt and age do. This guide shows the method step by step, explains what real ageing does to paper and how to keep your faked antique flat and safe.
Why crumpling makes the difference
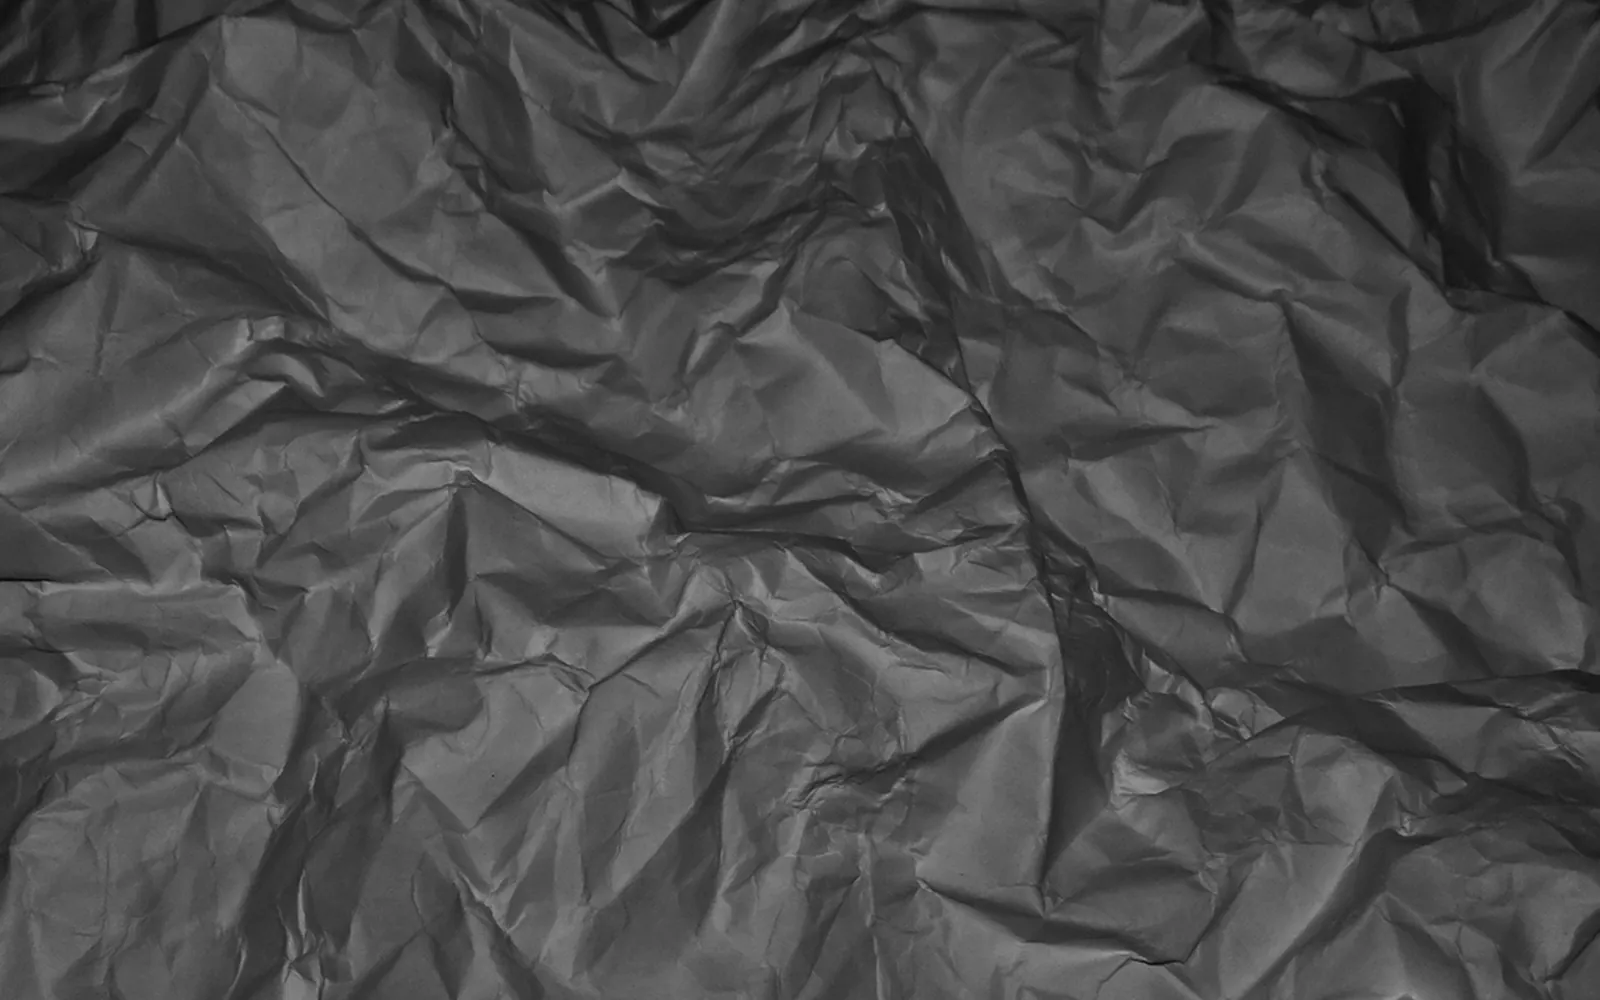
When paper is crumpled, its fibres are broken along every fold. Those broken lines absorb liquid faster than the flat areas around them. A tea or ink wash therefore turns darker along the creases and paler on the ridges, drawing a network of fine lines over the whole sheet. This is the same effect that froissage artists use deliberately: Ladislav Novák washed crumpled sheets with ink and then read figures into the dark lines. Our guide to what is froissage explains the art form; for ageing paper you simply stop before drawing and enjoy the texture.
What real old paper looks like
It helps to know what you are imitating. Old paper changes in a few typical ways:
- Overall yellowing or browning. Many papers made from wood pulp contain acids and lignin that darken with time and light. The Library of Congress recommends acid- and lignin-free enclosures for this reason and warns that acids can migrate from one paper into another.
- Foxing. Small reddish-brown spots, called foxing, appear on many old books and documents. The name may come from the fox-like colour of the stains; their causes are still debated.
- Soft wear. Corners round off, edges fray and small tears appear where a sheet was handled.
- Folds and creases. Letters and maps were folded and refolded, leaving grimy lines.
A convincing aged sheet combines three or four of these signs. Too many, all equally strong, look theatrical.
Materials
- Printer or cartridge paper, 80-120 gsm
- Strong black tea (two or three bags in a small cup) or instant coffee, cooled
- A sponge, kitchen paper or a wide soft brush
- A tray or baking sheet lined with kitchen paper
- Optional: brown or ochre watercolour, a brown pencil, a used teabag for spots
If you are writing a letter or drawing a map on the sheet, do it before staining and use a waterproof pen or a laser print; inkjet ink can run when wet.
Step by step
1. Crumple hard. Squeeze the sheet into a tight ball, open it and crumple it again. Two or three rounds give a dense network of creases. For gentler ageing, fold it in quarters like a letter instead.
2. Flatten by hand. Open the sheet and smooth it on the tray. Do not iron it yet; you want the creases to stay raised.
3. Stain unevenly. Dab tea or coffee over the sheet with a sponge. Go over the edges and some creases twice so they come out darker. Real ageing is never uniform, so leave a few lighter patches.
4. Add spots. While the sheet is damp, press a used teabag onto two or three places, or sprinkle a few grains of instant coffee that will dissolve into small dark spots. This imitates foxing.
5. Dry flat. Leave the sheet on kitchen paper until dry. Drying on a sunny windowsill or in a warm room is enough; a domestic oven speeds things up, but paper is flammable, so if you use one keep the temperature low, stay beside it and let an adult do it.
6. Wear the edges. Tear tiny pieces from the edges with your fingers and rub the corners until they soften. Dab the edges once more with coffee or shade them with a brown pencil.
7. Press. Put the sheet between clean scrap paper under heavy books overnight. It will stay crinkled but lie flat enough to display.
Variations
- Watercolour ageing: instead of tea, use a pale wash of yellow ochre and a touch of burnt umber. It is more controllable and does not smell. Our guide to froissage with watercolour and ink explains how washes settle in creases.
- Ink drawing on aged paper: age the sheet, then draw in brown ink with a dip pen, inspired by the ink washes in our page on Victor Hugo’s ink drawings.
- Smoke-darkened edges: artists who use the fumage technique darken paper with candle soot. This needs an open flame and fixative, so treat it as an adult studio technique, not a children’s craft.
- Treasure maps for Halloween or a party: age a sheet, draw a map and roll it with string. Pair it with our Halloween froissage monsters project.
Keep the effect away from real documents
Tea, coffee and crumpling are fine for props, invitations, school projects and artwork, but they are not archival. Staining adds substances that real paper conservators work hard to remove. The Library of Congress advises storing acidic papers separately so their acids do not migrate into other works, and that is a good rule for your aged sheets too: keep them in their own folder, away from family letters, photographs or prints.
Never use these methods on an original document, a book or a photograph you want to keep. If an old family paper needs help, the Library of Congress page lists ways to find a professional paper conservator. And if you want to frame your aged sheet, our guide on how to display froissage art explains simple framing that keeps works on paper flat.
Frequently asked questions
What is the easiest way to make paper look old?
Crumple the sheet into a tight ball, flatten it, then dab it all over with cold, strong black tea or coffee using a sponge or kitchen paper. Let it dry flat, tear the edges gently and press it under books overnight.
Is tea or coffee better for ageing paper?
Both work. Black tea usually gives a warmer, yellow-brown tone; instant coffee gives a darker, browner one. Test on scrap paper first, because the colour depends on strength and on the paper.
Can I make paper look old without staining it?
Yes. A thin wash of brown or ochre watercolour, or a diluted brown ink, gives a similar effect and is easier to control. Crumple first so the colour settles in the creases.
Will tea-stained paper last?
It will last for crafts and props, but it is not an archival material. Keep aged sheets separate from real documents and artworks, as the Library of Congress advises for acidic papers.
Should I burn the edges?
Burnt edges look dramatic but involve an open flame and dry paper. If you do it, it is a job for an adult, outdoors, with water to hand. Tearing and darkening the edges with a brown pencil or coffee is safer and looks almost as good.
Sources
Editorial team
The Froissage.com editorial team researches the history of froissage from museum, encyclopedia and publisher sources and writes practical guides to the technique.