Technique
Crumpled Paper Texture Photography: Light, Scan and Edit
Written by Froissage Editorial Team · Updated
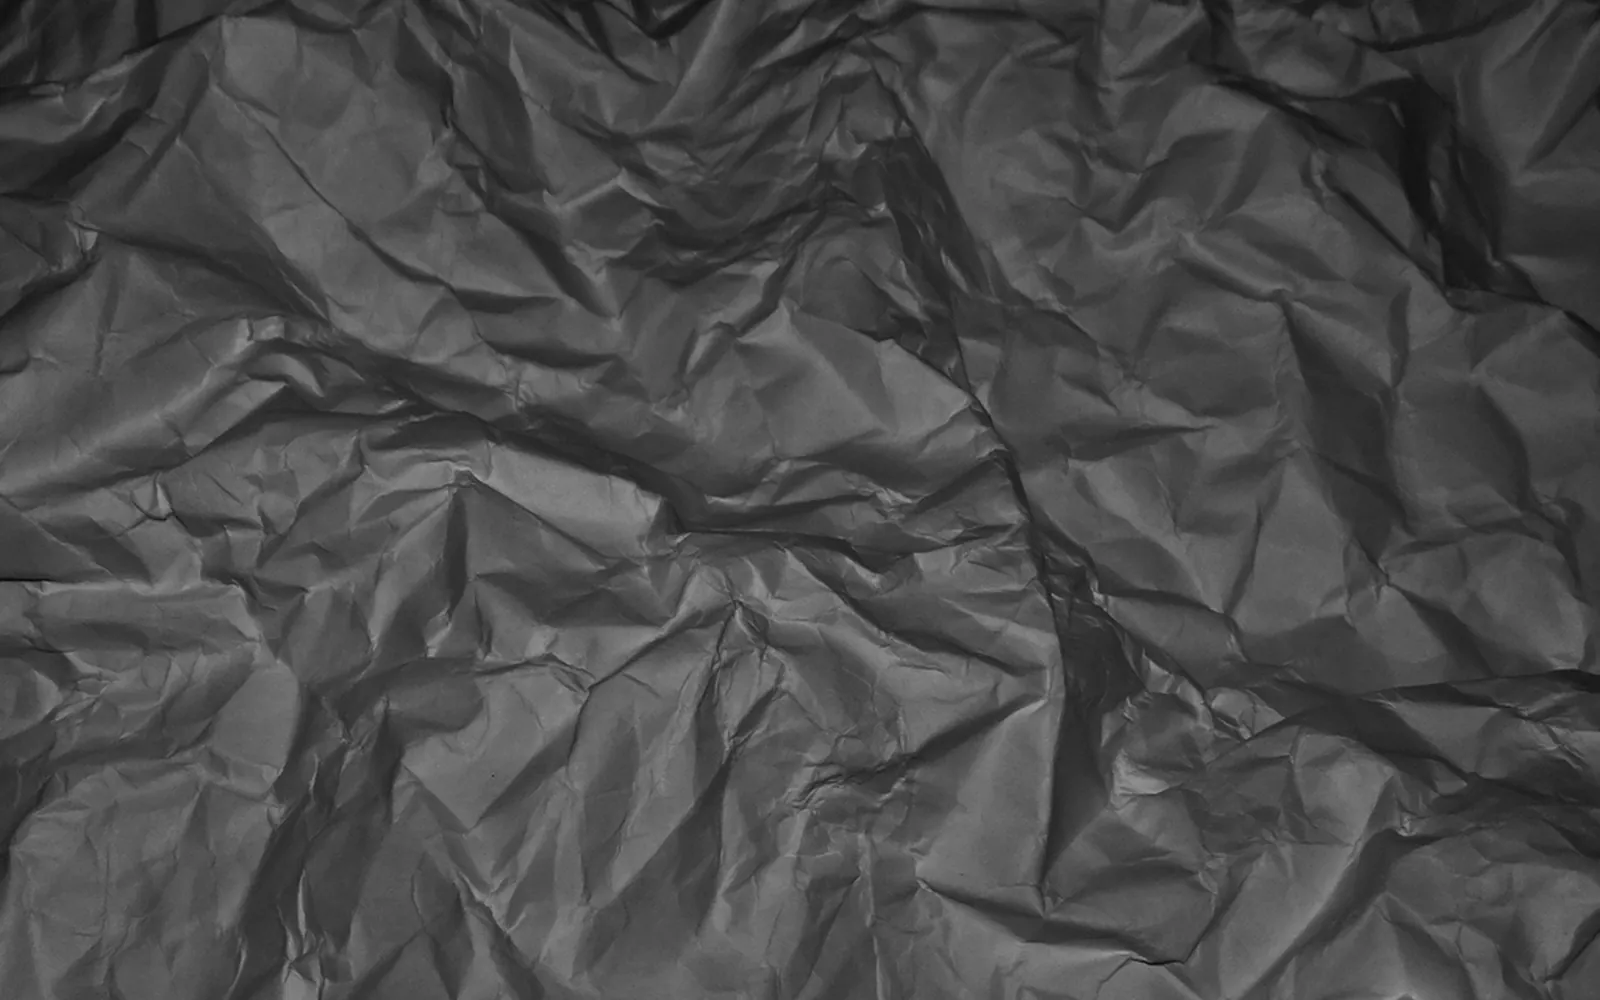
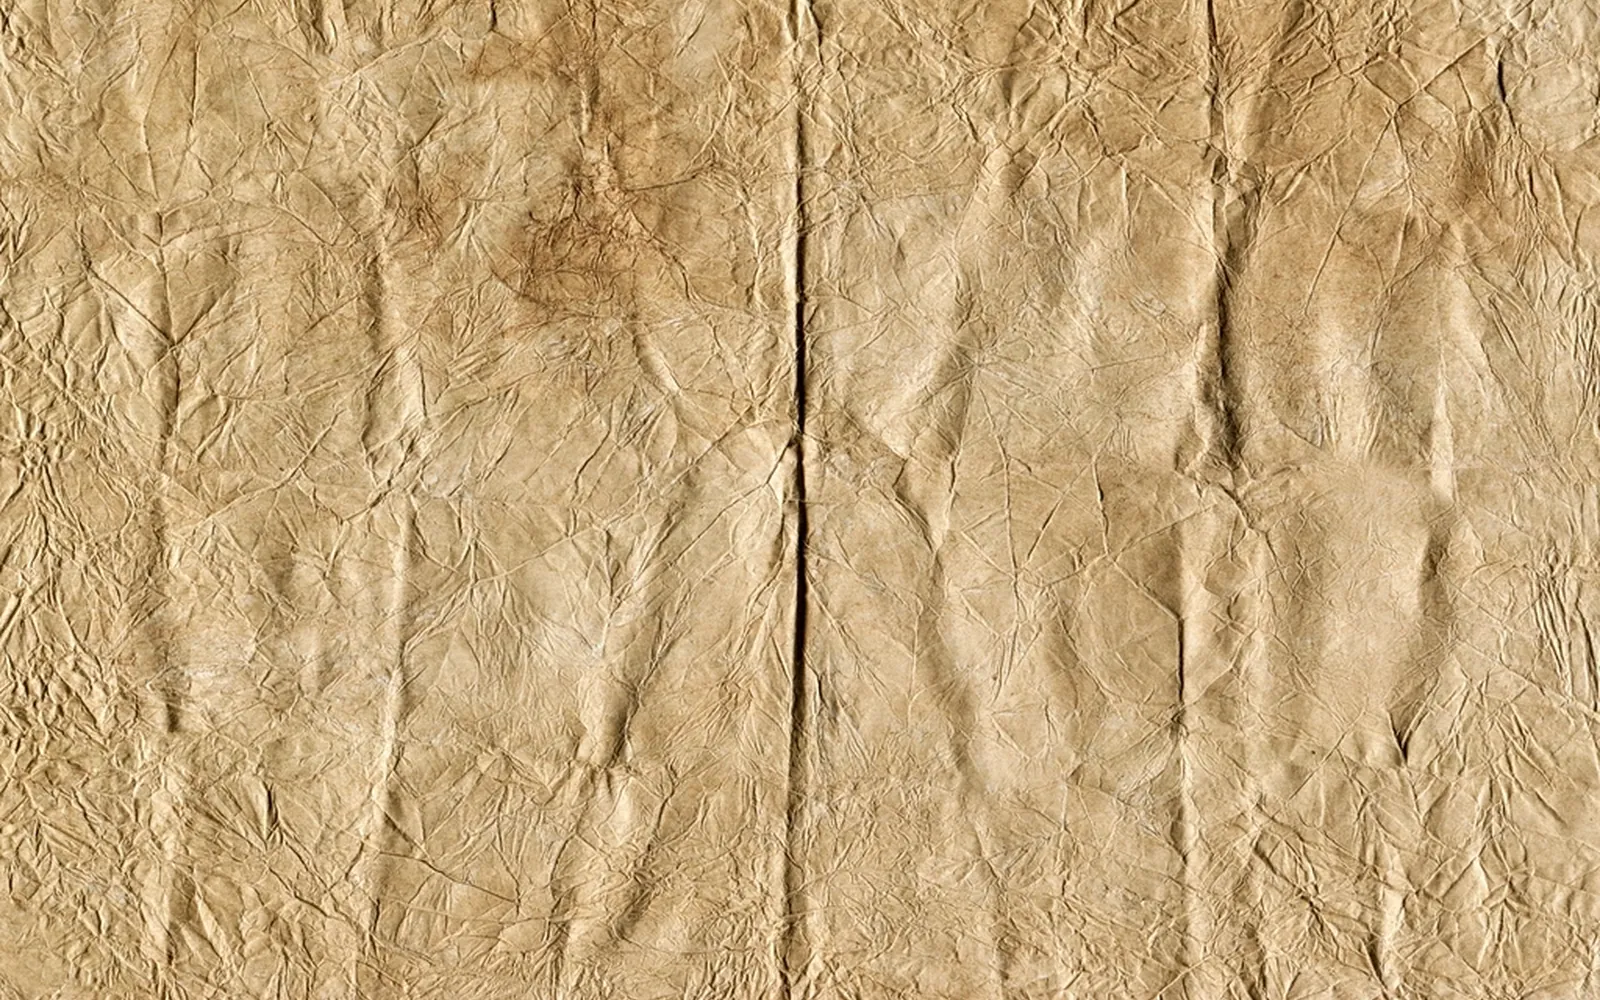
Crumpled paper texture photography is one of the easiest ways to build your own library of textures for art and design. A sheet of paper, a lamp and a phone are enough. The secret is light: creases only show when light skims across them and each ridge casts a shadow. This guide explains how to set up the light, shoot or scan the paper, and edit the result so it is ready for collage, digital painting or as a reference for froissage drawings.
Why light angle matters most
Look at a crumpled sheet under ceiling light and it looks grey and flat. Hold a torch beside it, almost level with the table, and suddenly the paper becomes a mountain range. That low, glancing light is called raking light. Museums and conservators use it to examine surfaces because it exaggerates texture: brushstrokes, tool marks, creases. For crumpled paper it is exactly what you want.
Use one main light source. Two lamps from different directions fill each other’s shadows and flatten the texture. A window with the sun to one side works well; on a dull day, a desk lamp in a darkened room is easier to control.
Preparing the paper
- Colour: white or pale paper shows shadows most clearly. Brown kraft paper gives a warm, rough look; coloured paper is good if you want a coloured texture.
- Crumpling: crumple tightly for small, dense creases; loosely for large facets. Open the sheet gently and press it only slightly flat. Too flat and the shadows vanish; too rounded and parts go out of focus.
- Size: fill the frame. If the sheet is smaller than the frame, you will waste resolution.
If you want a flatter sheet, see how to flatten crumpled paper. For artistic uses of the crease network, start with how to do froissage.
Shooting with a phone or camera
- Go straight down. Hold or mount the camera parallel to the paper. Shooting at an angle makes one end blurred and stretches the texture.
- Use the main lens. Ultra-wide lenses distort edges; digital zoom loses detail.
- Steady the camera. A small tripod, a stand or a stack of books with the phone across them prevents blur in low light.
- Lock focus and exposure. On most phones, tap and hold on the paper. Pull exposure down slightly so the white ridges are not pure white.
- Shoot several versions. Rotate the paper or move the lamp; each angle gives a different texture.
If your camera can save RAW files, use them: they keep more detail in highlights and shadows for editing.
Scanning crumpled paper
A flatbed scanner gives even, sharp images with no perspective distortion. Its light, however, comes from very close and almost straight on, so crease shadows are weak. Two tips:
- Leave the lid open or slightly raised so the paper keeps some relief, and cover the scanner with a dark cloth to block stray light.
- Scan at a high resolution (for example 600 dpi) so you can crop and enlarge later.
Cultural institutions follow detailed digitising standards such as the FADGI guidelines, which deal with colour accuracy and lighting. You do not need that level for a texture library, but the principle of controlled, consistent lighting is the same.
Editing the texture
In any photo editor:
- Crop away the table, the edges of the sheet and any hand shadows.
- Convert to black and white if you want a neutral texture you can colour later.
- Raise contrast and, if available, clarity or structure. Watch that the shadows do not turn solid black.
- Even out the light. Raking light is brighter near the lamp. A gradient adjustment or a gentle “shadows/highlights” tool evens it out.
- Save a full-resolution master and a smaller working copy.
Using your textures
- Digital collage and design: set the texture layer to multiply or overlay above a painting or photo to give it a paper feel.
- Printing: print the texture onto cartridge paper and use it as a ground for drawing, combining photography with crumpled paper printing.
- Froissage reference: study a high-contrast photo to find figures in the creases before drawing on the real sheet; it is a good exercise in pareidolia.
- Classroom slideshows: project enlarged textures and ask pupils what they see, a warm-up for a froissage lesson plan.
Common problems
- Grey, flat images. The light is too high or there is too much ambient light. Lower the lamp and darken the room.
- One side much brighter. Move the lamp further away; light falls off quickly near the source. Or bounce some light back with a white card on the opposite side.
- Blurred corners. The camera is not parallel to the paper, or the sheet is too domed. Flatten it a little more and check the angle.
- Colour cast. Mixed light (daylight plus a warm bulb) gives yellow or blue patches. Use one type of light, or convert to black and white.
- Visible paper edges. Crop tighter, or use a larger sheet so the texture fills the frame.
Building a texture library
Shoot a series rather than single images: tight crumples and loose ones, white, brown and coloured paper, light from the left and from the top. Name files by type (for example “white-tight-left-01”) so you can find them later. A small, well-organised set of twenty textures is more useful than hundreds of random photos.
A note on rights
When you crumple and photograph the paper yourself, you own the photograph. Textures downloaded from websites carry their own licences, from public domain to non-commercial only. Making your own avoids that question entirely and gives you textures nobody else has.
You can also record a crumpled sheet without any camera at all: laid on light-sensitive paper, its creases print as lines of light. See how to make a photogram.
Frequently asked questions
How do you photograph crumpled paper texture?
Open the crumpled sheet on a flat surface, light it from one side at a low angle, shoot straight down with the camera parallel to the paper, and lock focus and exposure. Then increase contrast in editing.
What is raking light?
Light that strikes a surface at a very low angle. Museums and conservators use it to reveal surface texture, creases and brushwork, because every small ridge casts a shadow.
Is scanning or photographing better for paper textures?
Scanning gives even, distortion-free images but flattens the relief because the light comes from almost straight on. Photography with side light shows the creases more dramatically. Try both.
Can I use crumpled paper textures in commercial work?
If you crumpled and photographed the paper yourself, the photo is yours to use. Downloaded textures come with their own licences, so check them before commercial use.
Sources
Editorial team
The Froissage.com editorial team researches the history of froissage from museum, encyclopedia and publisher sources and writes practical guides to the technique.