Classroom
How to Display Froissage Art: Flatten, Mount and Frame
Written by Froissage Editorial Team · Updated
Knowing how to display froissage art is not quite the same as framing an ordinary drawing. A froissage is crumpled on purpose, so it has relief, it may have been washed with a lot of water, and it is often on thin paper. This guide covers flattening, mounting, framing and hanging, for anything from a child’s school project to a piece you want to keep for decades.
The advice draws on general guidance for works on paper from the Library of Congress. For a valuable or historic work, consult a professional paper conservator.
Step 1: decide how flat it should be
There are two legitimate choices:
- Keep the relief. The crumpled texture is part of the work. You only need to relax it enough to lie in a frame. Many artists prefer this.
- Flatten it. The image matters more than the texture, and you want it to read as a drawing. The creases will always remain visible as lines.
Both are fine. Decide before you start pressing.
Step 2: flatten safely
- Make sure the work is completely dry.
- Place it face up on a clean, flat board and cover it with a clean sheet of plain paper or blotting paper.
- Add a second board or a stack of heavy books on top.
- Leave it for one to three days. Check and repeat if needed.
For stubborn pieces on sturdy paper, some people mist the back very lightly with water before pressing between blotters. Test on a scrap of the same paper and colour first, because water-based media can move. Do not iron a finished work: heat can shift colours and scorch the paper.
Step 3: mount with the right materials
The Library of Congress recommends acid- and lignin-free mats and enclosures for works on paper, and advises against self-adhesive tape, rubber bands and glue. Applied to froissage:
- Backing board: acid-free mount board or museum board.
- Attachment: two small hinges at the top edge, made of Japanese tissue and wheat-starch paste or acid-free gummed linen tape, so the paper can expand and contract. Photo corners are a simple alternative.
- Avoid: ordinary sticky tape, spray adhesive or glue across the whole back. They yellow, stain and are hard to reverse.
If the work is on acidic paper such as newspaper, keep it separate from other works so acids do not migrate.
Step 4: choose a frame
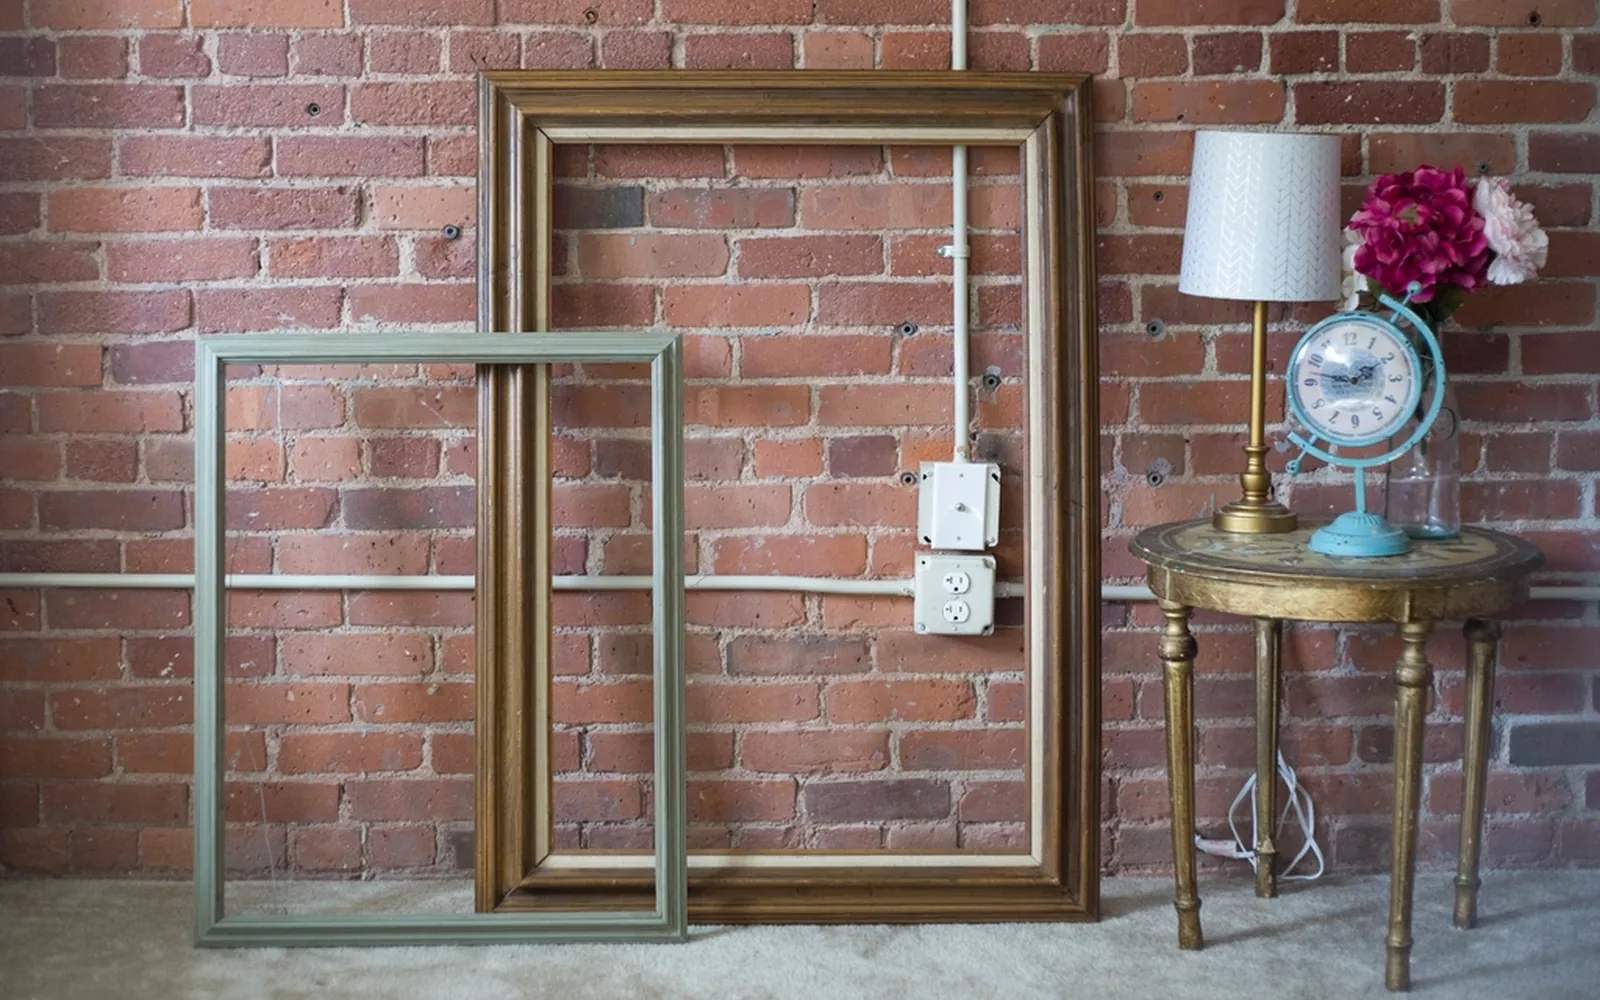
Deep or box frame. Because froissage is textured, the glazing must not touch it. A box frame or a standard frame with spacers holds the glass a few millimetres above the surface.
Floating mount. Mounting the sheet on a board so that all four edges are visible shows that the paper itself is the material, which suits froissage particularly well.
Window mat. A traditional window mat (passe-partout) cut from acid-free board works for flatter pieces and gives a classic look. It also keeps the glass off the surface.
Glazing. Glass is cheap and scratch-resistant; acrylic is lighter and safer for children’s rooms and classrooms. UV-filtering versions of either help protect colours.
Step 5: hang it in the right place
- Light. The Library of Congress advises minimising light exposure and avoiding direct or intense light for works on paper. Many watercolours and inks fade over time.
- Humidity and heat. Avoid bathrooms, kitchens, external walls prone to damp and spots above radiators. Paper cockles with humidity changes, which adds unwanted ripples to an already textured surface.
- Height. Hang so the centre of the work is roughly at eye level.
Displaying a series
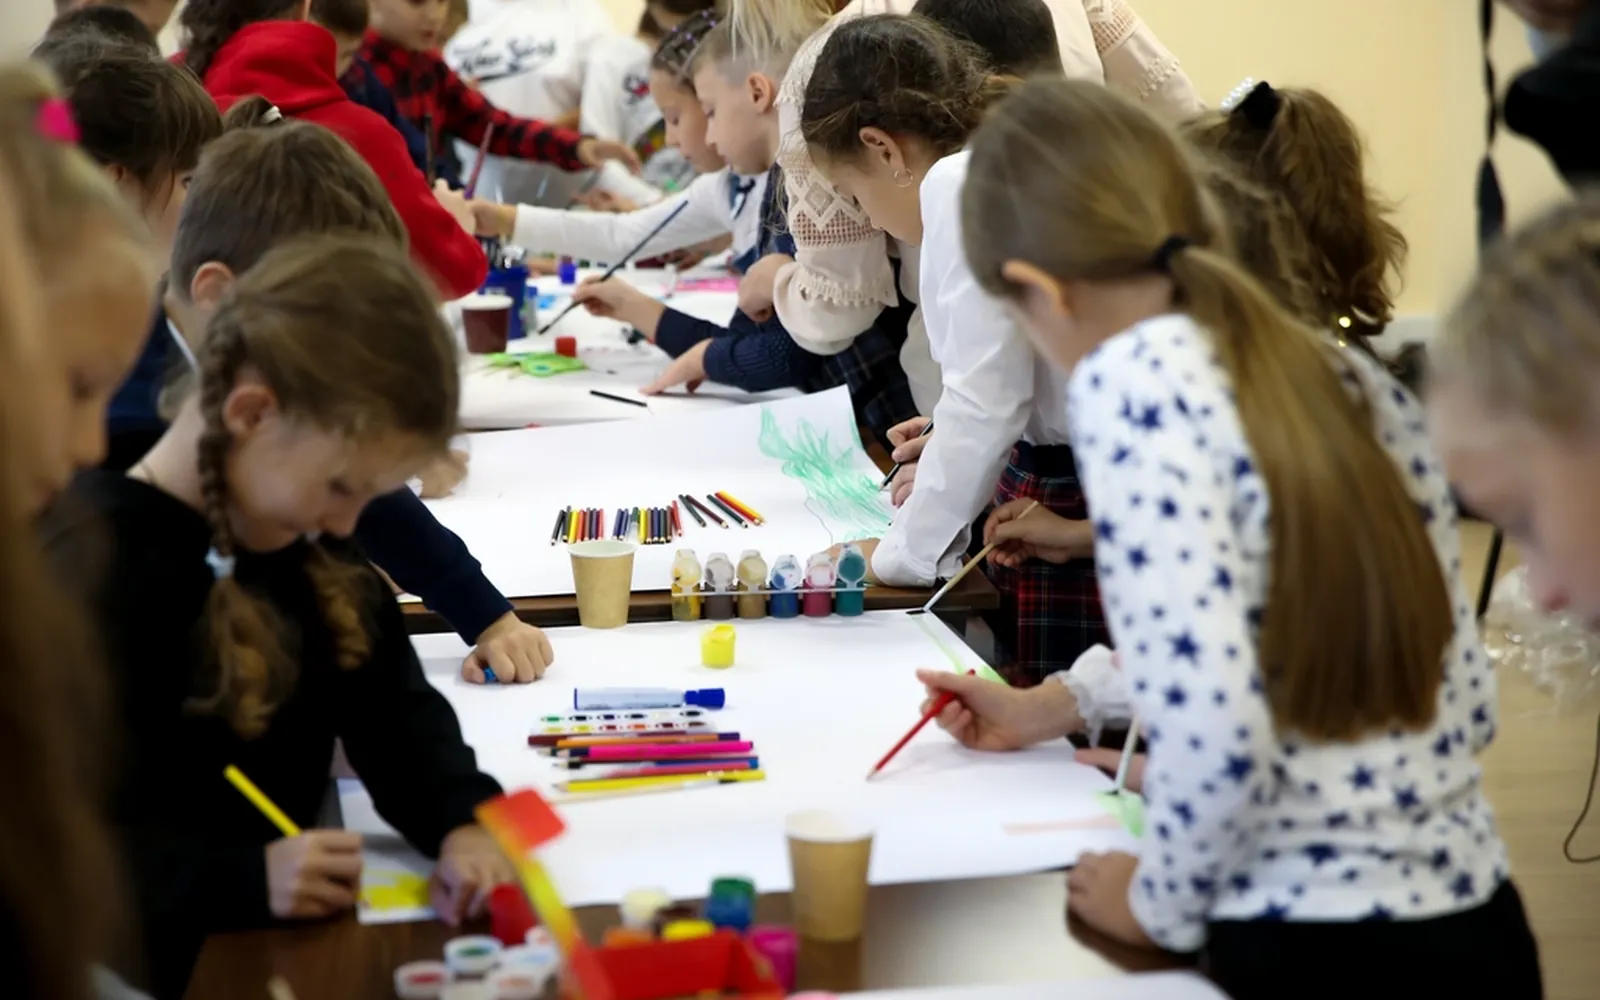
Froissage often works best in groups. A grid of small framed pieces, all in identical frames, emphasises the variety of images found in similar creases. For classrooms, pegging unframed works on a line or pinning them through the margins onto a board is quick and does not damage the image area.
In museums you will sometimes see crumpled works on canvas displayed unframed, hanging free from the wall. André-Pierre Arnal’s large Froissage of 1968 is spray paint on unstretched canvas, a reminder that crumpled works do not always need a conventional frame.
Seasonal and classroom displays
Not every froissage needs a frame. Class projects and seasonal pieces are often shown for a few weeks and then taken down, and a simpler approach suits them.
Monster galleries and seasonal walls. For an October display of Halloween froissage monsters, mount each sheet on black card with a small label giving the monster’s name and the maker’s first name. A grid of identical card sizes looks tidy even when the sheets themselves are irregular. The same works for winter landscapes or spring creature hunts.
Use removable fixings. Low-tack putty, clips on a line or photo corners avoid tape on the front of the work. Pressure-sensitive tapes can stain and damage paper over time, and the Library of Congress advises against using them directly on items you want to keep.
Rotate and limit light. Watercolour and many inks fade in strong light. Avoid walls in direct sun, and take temporary displays down after a few weeks. The Library of Congress recommends keeping paper away from light, heat and humidity, so a corridor without windows is often a better place for a display than a sunny classroom wall.
Keep a record. Before returning work to its makers, photograph the whole display in even daylight. A digital record of the series lasts longer than the paper.
Storing works you are not displaying
Store flat, interleaved with acid-free tissue, in an acid-free folder or box, in a cool, dry place away from attics and basements. Do not stack heavy objects on textured pieces.
Related guides
For making work that lasts, choose acid-free paper and lightfast colours from the start: see froissage materials. For classroom displays, froissage for kids has simple ideas, and the froissage gallery shows examples of crumpled-paper textures.
Frequently asked questions
Can I iron crumpled paper art to flatten it?
It is best not to iron a finished froissage. Heat can shift water-based colours, scorch paper and flatten the texture that is part of the work. Press it under weight instead.
What kind of frame is best for crumpled paper?
A box frame or deep frame with spacers, so the glass or acrylic sits a few millimetres above the paper's relief and does not press or rub on it.
How do I attach the paper without damaging it?
Use small hinges of acid-free tape or Japanese paper with wheat-starch paste at the top edge, or photo corners. Avoid ordinary sticky tape and glue across the whole back.
How do I stop the colours fading?
Hang the work away from direct sunlight, consider UV-filtering glazing for valuable pieces, and use lightfast paints and inks when you make work you intend to keep.
Sources
Editorial team
The Froissage.com editorial team researches the history of froissage from museum, encyclopedia and publisher sources and writes practical guides to the technique.