Technique
How to Draw Crumpled Paper: A Step-by-Step Pencil Study
Written by Froissage Editorial Team · Updated
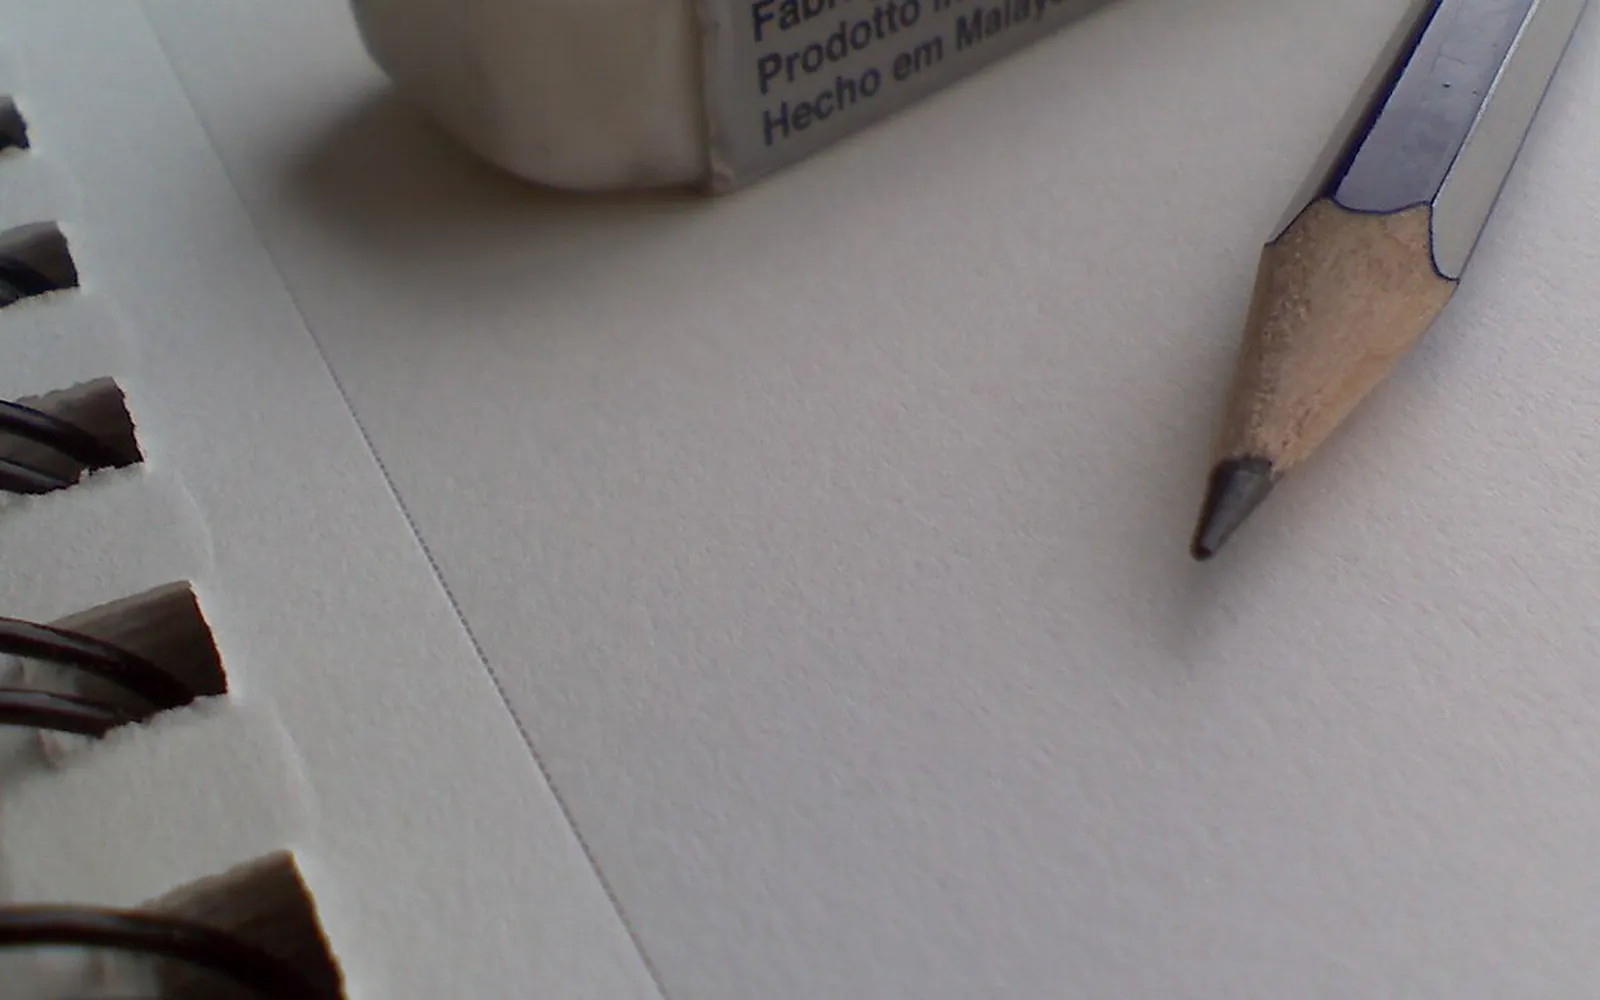
Learning how to draw crumpled paper is one of the most useful still-life exercises there is. A crumpled sheet has no face, no symmetry and no familiar outline, so you cannot draw it from memory. You have to look: at the angle of each flat facet, at where a fold turns away from the light, at the difference between a sharp crease and a soft curve. It is also free, endlessly varied and ready in a second. This guide takes you through a full pencil study, from setting up the light to the final accents.
It is the mirror image of froissage. In froissage you crumple a sheet, open it, wash ink into the creases and then develop the images you see there. Here the crumpled sheet stays crumpled and becomes the subject. Doing both teaches you to read creases quickly, which is exactly what froissage asks of you.
What you need
- Paper to crumple. Plain white printer or cartridge paper. White shows the light most clearly; coloured or printed paper adds confusing patterns.
- Drawing paper. Smooth or lightly textured drawing paper, A4 or A3.
- Pencils. A hard pencil (2H) for the first construction lines, an HB for middle values and a soft pencil (2B to 4B) for the darks.
- A kneaded eraser for lifting highlights, plus a normal eraser for corrections.
- One lamp. A desk lamp you can aim is ideal. Daylight from a single window also works if there is no other light source in the room.
- A dark surface under the subject, such as a sheet of black card, so the white paper stands out.
Set up the subject and the light
Crumple the sheet loosely into a rough ball, then open it slightly so that it has a few large planes rather than hundreds of tiny ones. A tight ball is very hard to draw at first; a loose, half-opened crumple shows the structure clearly.
Place it on the dark surface and light it from one side and a little above, at roughly 45 degrees. Turn off other lights if you can. With one light source every facet falls into one of three groups: planes facing the light (light), planes turned partly away (middle), and planes facing away (dark). The crumpled sheet also casts a shadow on the surface, which anchors it on the table.
This pattern of light and shade is what painters call chiaroscuro. Tate explains that the Italian term translates as light-dark and refers to the balance and pattern of light and shade in a painting or drawing. A crumpled sheet is a small, cheap way to practise it.
Before you draw, squint at the subject. Squinting removes detail and shows you the big shapes of light and dark, which is all you need for the first stage.
Block in the silhouette
Hold the pencil lightly, near the end. Draw the outer shape of the crumpled sheet as a series of straight lines, not a curve. Crumpled paper is made of flat facets, so its outline is a polygon with many short sides.
To get the angles right, hold your pencil at arm’s length, line it up with an edge of the subject, and transfer that angle to the paper. Check proportions in the same way: how wide is the shape compared with its height? Keep these lines faint; most of them will be covered by shading later.
Map the big planes
Now look inside the silhouette for the largest folds. Most crumpled sheets have a few main ridges that divide the form into five to eight big planes. Draw only those lines at first. Ignore the small creases completely for now.
A useful habit is to ask of each line: is this a ridge, where the paper bends towards me, or a valley, where it bends away? Ridges usually catch light on one side and fall into shadow on the other, giving a sharp edge. Valleys often collect dark shadow along their length.
Lay in three values
Before any detail, reduce the drawing to three values:
- Light: the planes facing the lamp. Leave them as white paper.
- Middle: planes turned partly away. Cover them with an even, light tone of HB, using close parallel strokes or gentle circular shading.
- Dark: planes facing away from the light, plus the cast shadow on the table. Use a softer pencil and build the tone in layers.
Step back and compare with the subject. If the drawing already reads as a three-dimensional crumpled form at this stage, the rest is refinement. If it does not, adjust the values now; detail will not rescue a drawing whose big shapes are wrong.
Hatching, the drawing of closely spaced parallel lines to build tone, suits crumpled paper well. Let the direction of your strokes follow the plane: on a facet that tilts to the left, angle the hatching slightly in the same direction. This quietly describes the surface.
Add the smaller creases
Within each big plane there are smaller folds. Add them now, but keep their contrast lower than the main structure. A small crease inside a lit plane should be a light-grey line with a slightly darker side, not a black stroke. If every crease is as dark as the main folds, the form breaks up into a busy pattern and loses its volume.
Look for the points where several creases meet. Physicists who study crumpling describe the result as a network of ridges and flat facets, and these meeting points are often where the paper is most sharply bent. In a drawing they are useful anchors.
Edges: sharp, soft and lost
Not every edge is the same:
- Sharp edges occur where a fold turns abruptly from light to shadow. Draw them crisply.
- Soft edges occur where the paper curves gently rather than folding. Blend the tone gradually across them.
- Lost edges occur where a shadow plane meets the cast shadow or the dark background and the two values are almost the same. Let them merge.
Varying the edges is what makes the drawing look like paper rather than a wire model.
Final accents and highlights
Finish with the darkest accents: the deepest crevices where little light reaches, and the thin line of contact shadow where the paper touches the table. Use your softest pencil, sparingly.
Then lift the brightest highlights with a kneaded eraser pressed into a point. On white paper the brightest facets may need no lifting at all, but cleaning their edges makes them glow next to the darks.
Stop before you overwork it. A drawing that looks lively at 80 per cent finished often becomes stiff at 100.
Common problems and fixes
- The drawing looks flat. The value range is too narrow. Darken the shadows and keep more white paper.
- It looks like a rock or a cabbage. The edges are too soft and rounded. Paper folds in straight lines; sharpen the main ridges and straighten the outline.
- It is too busy. You drew every crease at full strength. Lighten the small creases inside the big planes.
- It floats. Add the cast shadow and the contact shadow under the paper.
- The proportions are off. Go back to measuring with the pencil at arm’s length before shading more.
Variations to try
- A sequence. Draw the same sheet three times: flat, loosely crumpled and tightly crumpled. The changes in structure are revealing.
- Toned paper. Draw on mid-grey paper with a dark pencil and a white pencil, so you only need to add darks and lights.
- Ink and wash. Draw the main planes in pen, then add the shadows with diluted ink. This links naturally to froissage with ink and watercolour.
- From a photograph. Photograph a crumpled sheet with raking light, as in our guide to crumpled paper texture photography, and compare drawing from the photo with drawing from life.
- In three dimensions. Model the shapes you have drawn as a small crumpled paper sculpture.
From drawing the crumple to drawing in it
Once you can read the planes of a crumpled sheet, try the froissage method itself. Crumple, open, wash ink across the surface and look for figures and landscapes in the creases; our how to do froissage guide takes you through it. The habit of squinting for big shapes of light and dark that you learned here is exactly what helps you find an image in the stained creases. For the history of that way of looking, see pareidolia in art.
Frequently asked questions
Why do art teachers set crumpled paper as a drawing exercise?
Because it has no familiar shape. You cannot draw what you think a crumpled sheet looks like, so you are forced to look at planes, edges and values. The subject is also free, and you can make a new one in a second.
Which pencils do I need to draw crumpled paper?
Three are enough: a hard pencil such as 2H for the first lines, an HB for middle values and a soft pencil such as 2B or 4B for the darkest shadows. A kneaded eraser is useful for lifting highlights.
How long should a crumpled paper drawing take?
A quick study can take 15 to 20 minutes. A careful, fully shaded drawing of a single crumpled ball can take two hours or more. Short, repeated studies teach more than one long one at the start.
My drawing looks flat. What went wrong?
Usually the value range is too narrow. Push the darkest shadows darker, keep a few areas of untouched white paper for the brightest facets, and make the edge between a lit plane and a shadow plane crisp.
Is drawing crumpled paper the same as froissage?
No. Froissage uses the crumpled sheet itself as the support: you crumple, open and wash it with ink, then draw out the images the creases suggest. Drawing crumpled paper is a still-life exercise in which the crumpled sheet is the subject.
Sources
Editorial team
The Froissage.com editorial team researches the history of froissage from museum, encyclopedia and publisher sources and writes practical guides to the technique.