Technique
How to Do Froissage: Step-by-Step Crumpled Paper Art
Written by Froissage Editorial Team · Updated
Learning how to do froissage takes one sheet of paper and about an hour, most of it drying time. The method below follows the basic logic used by Ladislav Novák, who, according to the Czech art database artlist.cz, folded and crumpled paper, flattened it out again and drew into the creases in ink combined with watercolour. You do not need drawing skill to start: the paper does the first half of the work.
If you are new to the idea, read what is froissage first for the background.
What you need
- Paper: a few sheets of medium drawing paper, roughly A4 or letter size. Printer paper is fine for practice.
- Colour: ink diluted with water, liquid watercolour or a pan watercolour set. Strong tea or instant coffee also works.
- A soft, wide brush (a flat brush 2-3 cm wide is ideal) and a fine brush.
- A fine black pen, brush pen or coloured pencils for the drawing stage.
- Water jar, paper towels, newspaper or a plastic sheet to protect the table.
- A few heavy books for flattening.
Our page on froissage materials compares paper weights and colour options in detail.
Step-by-step froissage
1. Prepare the paper
Cut the sheet to size before crumpling; trimming afterwards is awkward. Medium paper (80-120 gsm) is the best balance between sharp creases and resistance to water. Write your name on the back in pencil if you are working in a group.
2. Crumple it
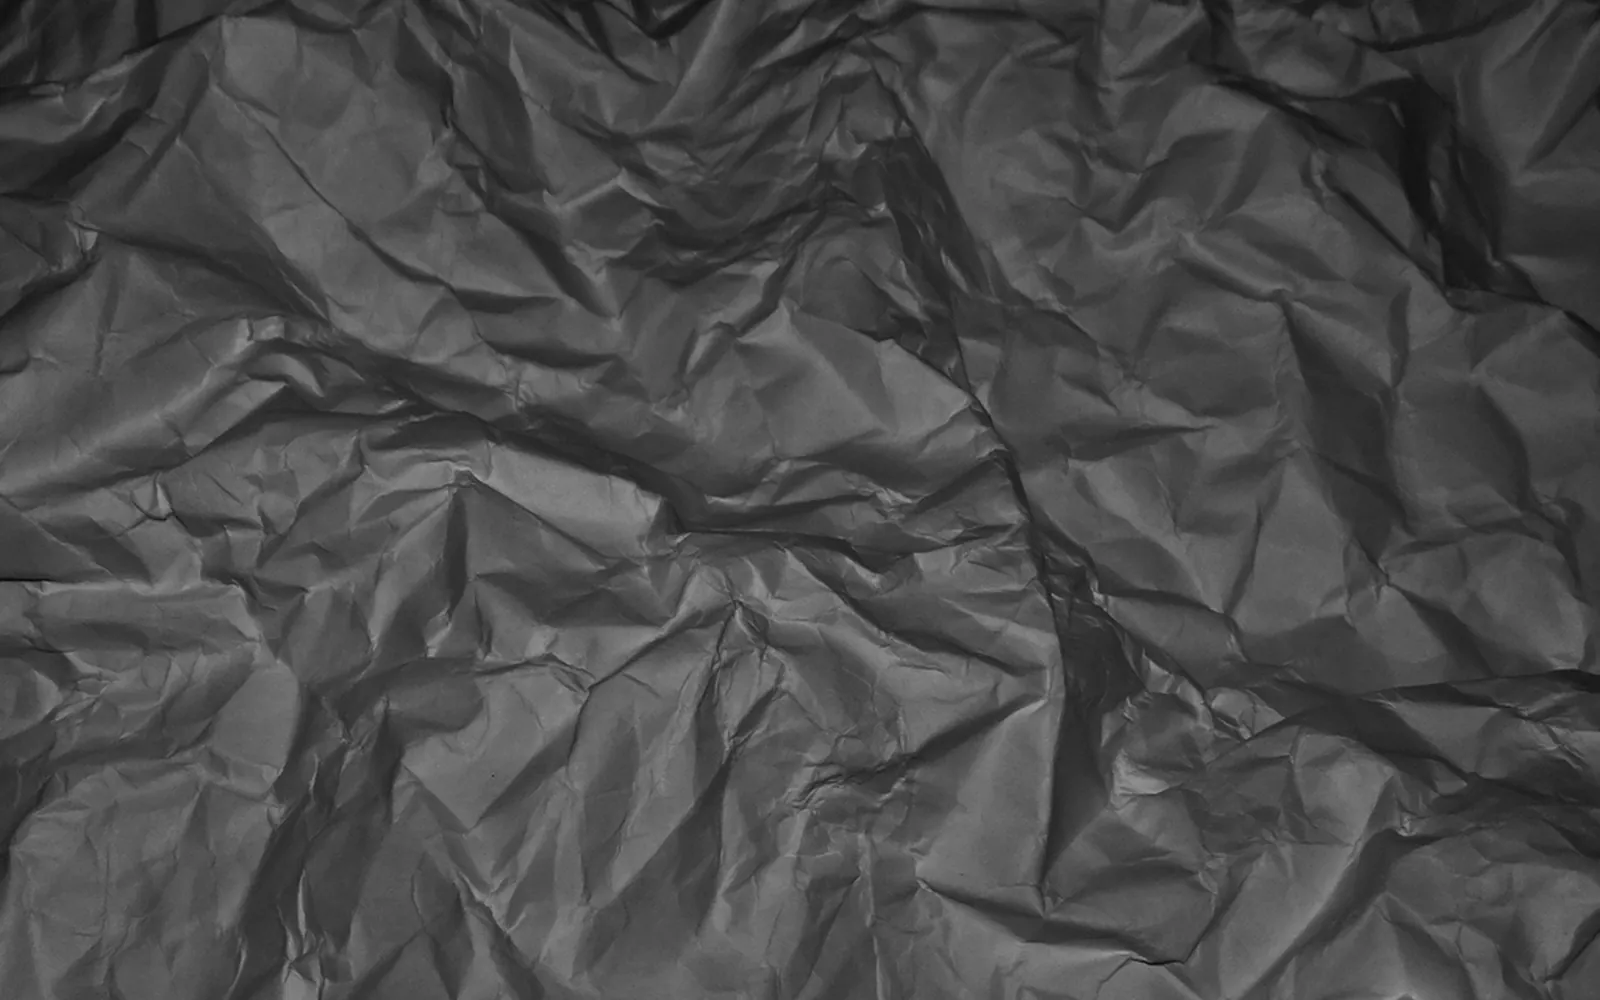
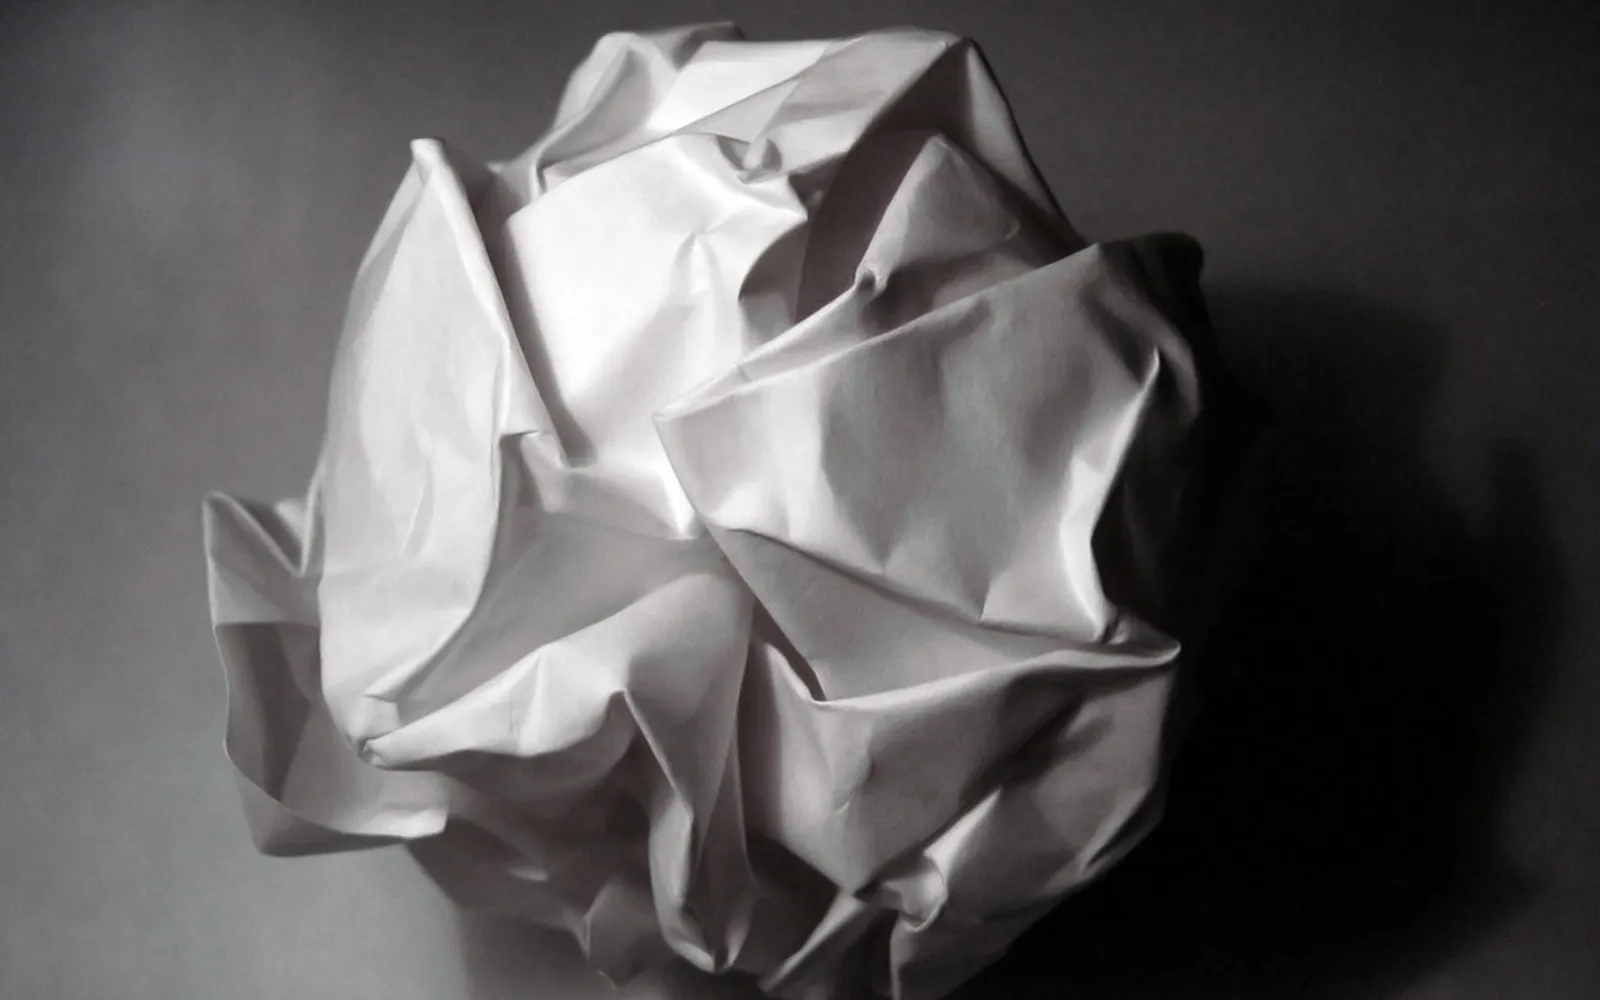
Scrunch the paper into a tight ball with both hands. Squeeze it firmly; loose crumpling gives a few lazy folds. For a denser network, open the ball halfway and crumple again, two or three times. Each round breaks more fibres and adds finer lines.
3. Open and flatten
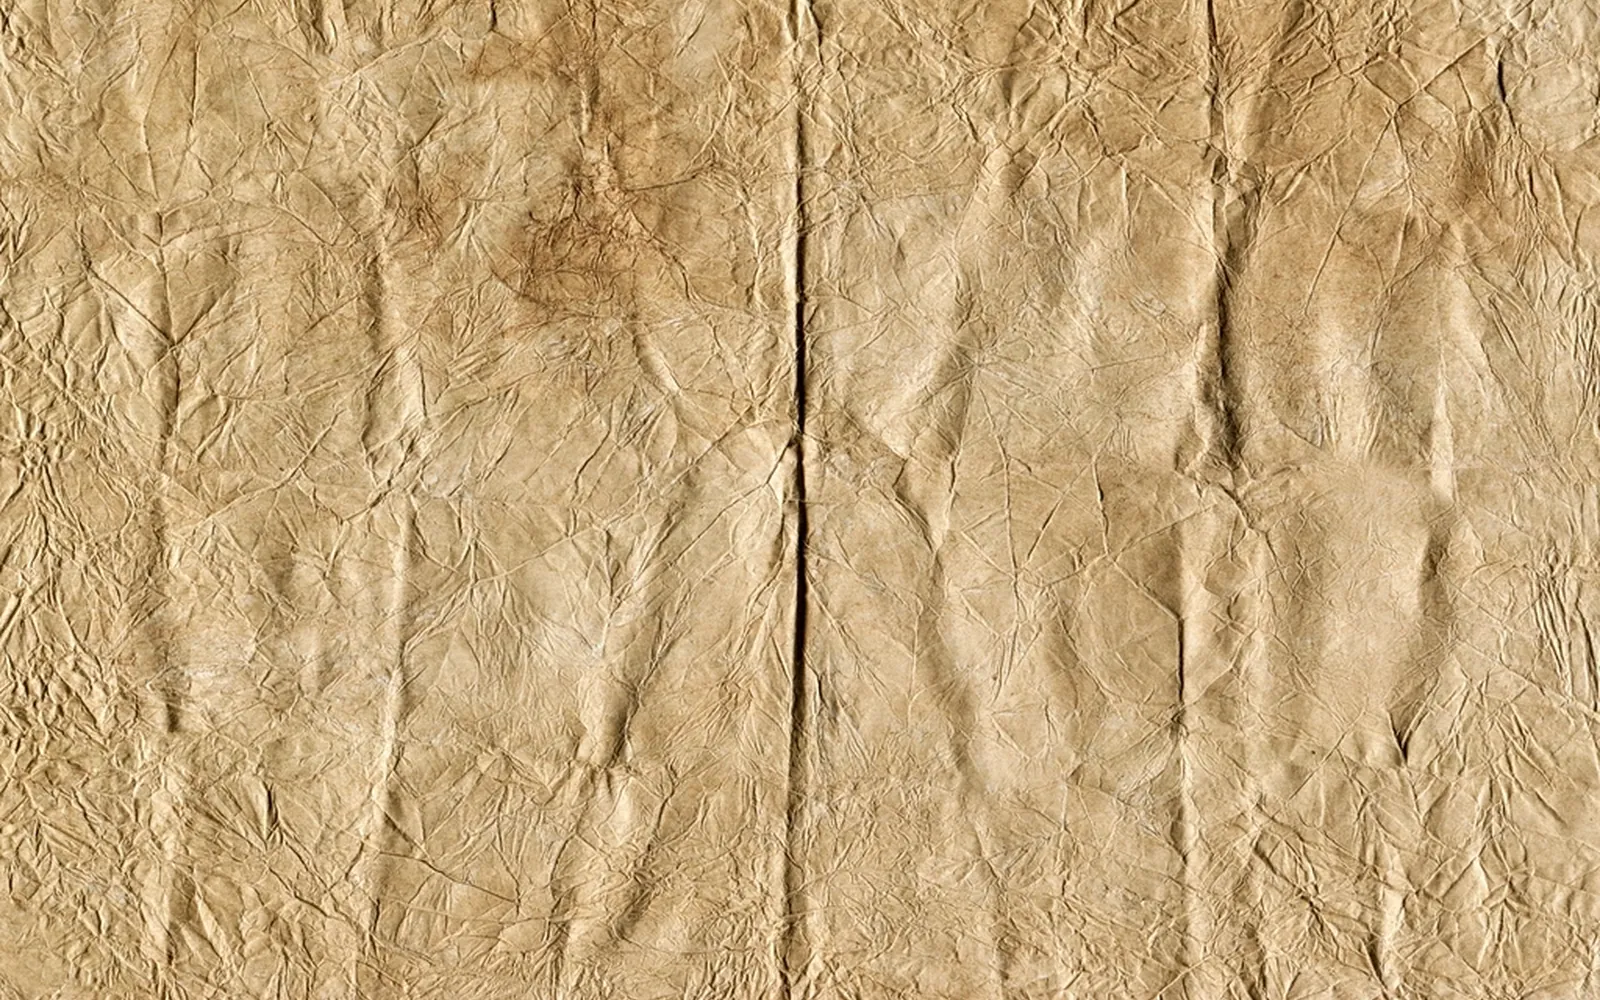
Open the ball slowly, starting from the middle and working outwards. Pulling the corners tends to tear thin paper. Smooth it with your palms until it lies more or less flat. It does not need to be perfectly flat; some relief helps the colour.
4. Apply colour
Dilute the ink or watercolour well: think tea rather than coffee. Load the wide brush and sweep it across the whole sheet in one or two passes. You will see the colour run into the creases and darken along every broken line. Work fast and do not scrub, which lifts fibres and can tear the wet paper.
Variations:
- Two colours. Add a second colour while the first is still damp. It will bleed softly along the folds.
- Ridges only. Paint while the sheet is still partly crumpled so only the raised parts take colour.
- Dry media. Skip the wash and rub a pencil, pastel or charcoal stick lightly over the flattened sheet.
The guide to froissage with ink and watercolour covers these variations in more depth.
5. Let it dry
Leave the sheet flat on newspaper. Blot any puddles. Depending on paper and how much water you used, it takes roughly 20 to 40 minutes; a hair dryer on a cool setting speeds it up.
6. Find the image
This is the heart of froissage. Hold the sheet at arm’s length, turn it through all four orientations and look for shapes. Faces, animals, trees, rocky coasts and city skylines are common. Lightly mark what you see with a pencil so you do not lose it. If nothing appears, put the sheet aside and look again later; fresh eyes help.
7. Draw it out
Use a fine pen or brush to strengthen the lines that belong to your image. Follow the creases where you can and add only the details the paper does not give you, such as an eye or a horizon line. Leave most of the creases untouched as texture. Adding white gel pen or a few touches of opaque colour can lift highlights.
8. Flatten and finish
Once completely dry, place the work between two clean sheets of paper and press it under heavy books for a day or two. It will never become perfectly flat, and that relief is part of its character. For mounting and framing, see how to display froissage art.
Tips for better results
- Contrast matters. A light paper with a mid-tone wash shows the creases best. Very dark washes hide them.
- Vary the crumple. Twisting the paper gives long diagonal folds; pressing it into a fist gives small facets; folding before crumpling adds straight lines.
- Keep sheets small at first. A5 or A4 sheets dry quickly and let you test several approaches in one session.
- Combine techniques. Glue cut shapes onto the crumpled ground for froissage collage, or compare the result with a rubbing in froissage vs frottage.
When something goes wrong, our list of froissage technique mistakes explains the usual causes: torn paper, muddy colour and images that refuse to appear.
Choosing your medium
The steps above use ink, which is the classic froissage medium. Other media change the look:
- Watercolour gives softer, coloured crease lines and lovely blooms where pools dry. See froissage with watercolour and ink.
- Acrylic paint allows glazing, wiping back and dry-brushing, and dries fast enough to layer within minutes. See froissage with acrylic paint.
- Printing ink turns the crumpled sheet into a plate, as in crumpled paper printing.
- Wax crayon resist keeps lines white under a dark wash, as in paper batik.
After the drawing: flatten, photograph, display
A finished froissage often refuses to lie flat. Let all media dry, then press it face down between clean sheets under books for a day or two; our guide on how to flatten crumpled paper explains gentle humidification for stiff sheets. To share or archive the work, photograph it with light from one side so the creases show (see crumpled paper texture photography).
Froissage with a group
The same steps work with children from about age five, with adults doing the cutting and handing out diluted paint. The froissage for kids guide adapts the method for younger artists, and the froissage lesson plan sets it out for a full class period.
Frequently asked questions
What paper is best for froissage?
Medium-weight drawing or cartridge paper (around 80-120 gsm) is the easiest all-rounder. Thin papers such as printer paper or tissue crease more sharply but tear when wet; watercolour paper takes plenty of water but gives fewer, softer folds.
Should I paint before or after crumpling?
Both work. Painting after crumpling and flattening makes the creases dark lines. Painting while the paper is still partly crumpled colours only the raised ridges and leaves the hollows pale. Try both on small sheets.
How long does froissage take?
The crumpling and colouring take a few minutes. Most of the time is drying, typically 20 to 40 minutes depending on how wet the sheet is, followed by as long as you want to spend drawing.
How do I stop the paper tearing?
Use slightly heavier paper, open the crumpled ball slowly from the middle, and avoid scrubbing with the brush while the paper is wet.
Can I do froissage without paint?
Yes. Rub the side of a pencil, charcoal or pastel stick lightly over the flattened sheet. The ridges pick up the medium and the creases stay light.
Sources
Editorial team
The Froissage.com editorial team researches the history of froissage from museum, encyclopedia and publisher sources and writes practical guides to the technique.