Classroom
Froissage for Kids: Easy Crumpled Paper Art Project
Written by Froissage Editorial Team · Updated
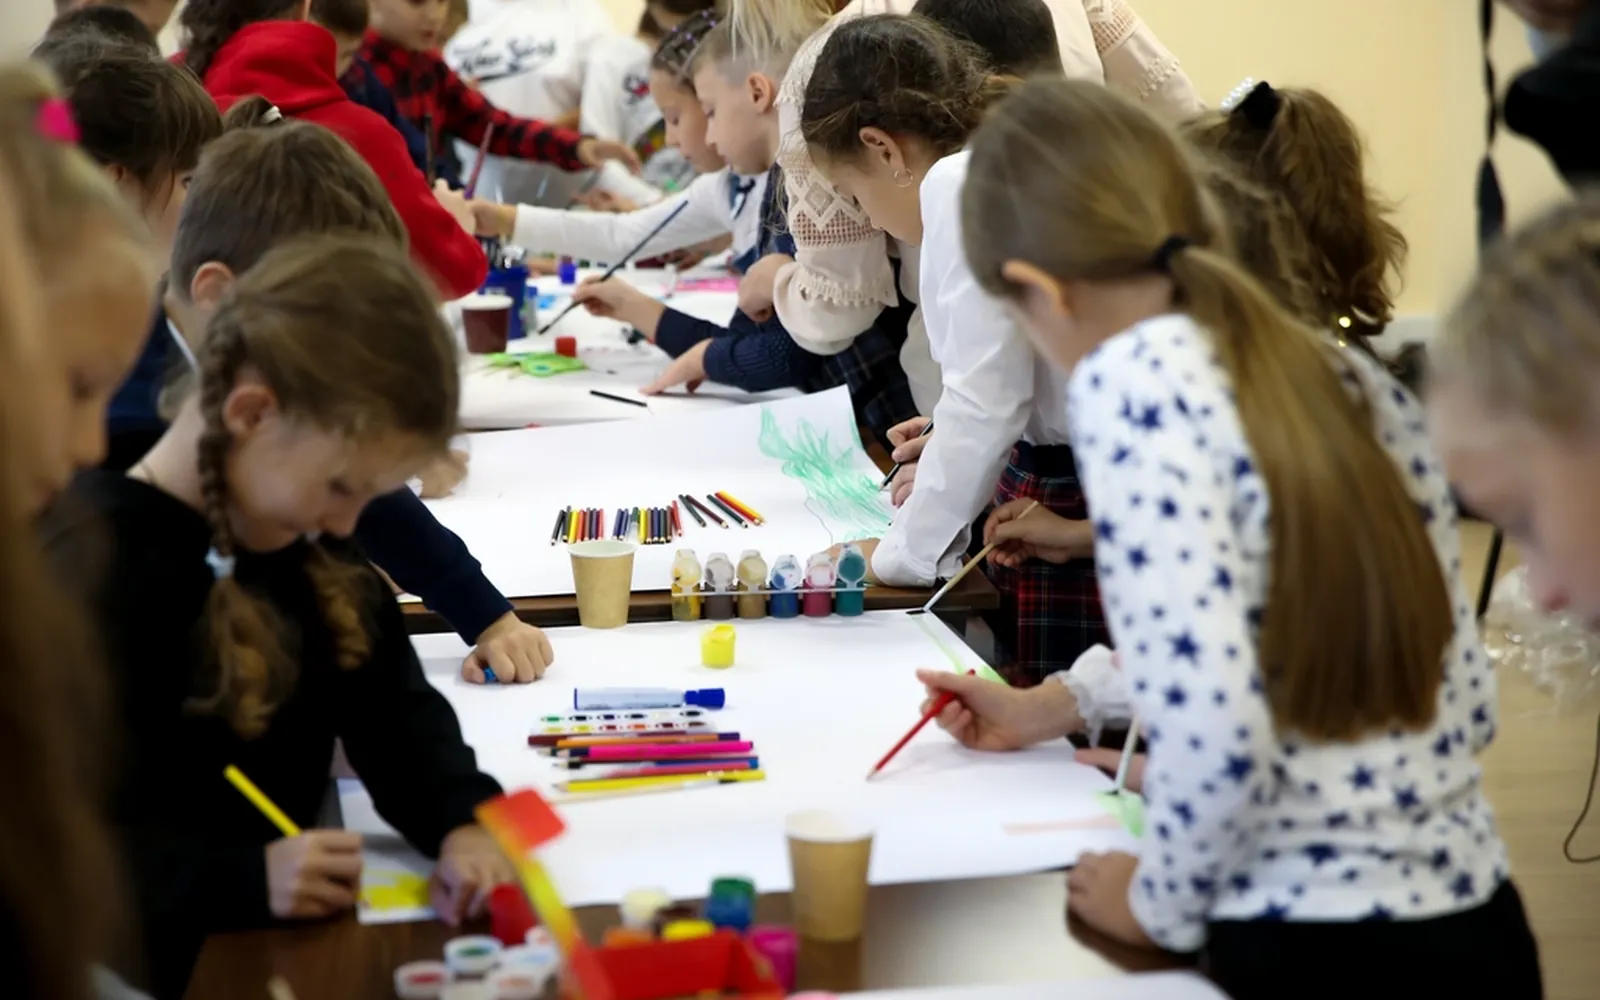
Froissage for kids is one of the easiest real art techniques you can teach. Children love crumpling paper, and the technique turns that into a picture: crumple a sheet, open it, paint over it, then hunt for creatures and places hiding in the lines. There is no wrong answer and no blank page to be afraid of, which makes it ideal for children who say “I can’t draw”.
This page is written for parents, carers and teachers of children aged about 5 to 12. For a structured class version with learning objectives, see the froissage lesson plan.
A story to start with
Froissage (say “frwah-SAHZH”) is a French word that means crumpling. About sixty years ago, an artist and poet from Czechoslovakia called Ladislav Novák started making pictures by crumpling paper, smoothing it out and drawing the shapes he saw in the creases. He found funny faces, strange animals and little people. You can show older children our page about Ladislav Novák to see where the idea came from.
What you need
For each child:
- 1-2 sheets of paper, A4 or letter size. Printer paper is fine; slightly thicker drawing paper is better.
- A small pot of washable paint or liquid watercolour, diluted with water.
- A wide, soft brush.
- A black felt-tip pen or marker, plus a few coloured pencils or markers.
- An apron or old shirt.
For the table:
- Newspaper, a plastic tablecloth or old cardboard.
- Paper towels and a water pot.
- A drying space (a windowsill, a drying rack or the floor).
Choose paints marked as safe for children. In the United States, look for the AP seal from the Art and Creative Materials Institute; in Europe, check that products meet the EN 71 toy safety standard where relevant.
Step by step
- Write names first. Write each child’s name in pencil on the back of their paper.
- Crumple! Ask children to scrunch the paper into the tightest ball they can. Let them squeeze, roll and squash it.
- Open carefully. Show them how to open the ball slowly from the middle, like opening a flower. Younger children may need help so the paper does not tear.
- Smooth it. Press the sheet flat with both hands. It will still be bumpy; that’s fine.
- Paint all over. Using the wide brush, cover the whole sheet with the watery paint. Watch the colour run into the lines and make them darker.
- Dry. Leave the paintings flat to dry, about 20-30 minutes. This is a good moment to tidy up or read a story.
- Shape hunt. Turn the dry painting round and round. What can you see? A dragon? A mountain? A face? A city?
- Draw it. Use the black pen to draw around the shape you found and add eyes, legs, windows or anything else it needs. Use coloured pencils to colour parts of it.
- Give it a title. Ask children to name their picture and say what they found.
Ideas by age
Ages 5-7
- Use one bright colour and a black marker only.
- Do the shape hunt together: “I can see an elephant here, what can you see?”
- Make a class “zoo” of creatures found in the creases.
Ages 8-10
- Try two colours, adding the second while the first is still wet.
- Paint while the paper is still half crumpled, so only the bumps catch colour.
- Compare froissage with frottage: make a crayon rubbing of a leaf or coin, and discuss the difference. Our page on froissage vs frottage explains it simply.
Ages 11-12
- Use a page from an old magazine or book as the paper and crumple it, like Jiří Kolář did with printed pictures.
- Cut out the creature they find and glue it onto a new background, creating a froissage collage.
- Write a short poem about the creature. Novák and Kolář were both poets as well as artists.
Tips for a calm session
- Pre-dilute the paint. Give each child a pot of ready-mixed watery paint so it is not too dark.
- Limit the colours. One or two colours per child avoids brown mud.
- Have spare paper. Some sheets will tear; let children start again.
- Praise the looking. The important skill is noticing shapes, not drawing perfectly.
Two follow-up projects
Children who enjoy froissage usually want to do it again. Two projects build on the same skills and add something new.
Paper batik. Before crumpling, children draw a bold picture in wax crayon, pressing hard. After crumpling and flattening, they brush a dark, watery wash over the sheet and dab it with a sponge. The crayon resists the paint and the creases fill with fine dark lines. It teaches the idea of resist and gives very reliable results, even with five-year-olds. Step-by-step instructions, adaptations by age and the story of real batik cloth are in our guide to paper batik with crumpled paper.
Halloween monsters. In October, the creature hunt becomes a monster hunt. Children wash their crumpled sheets in orange, purple and black, wait for them to dry, and look for ghosts, bats and monsters in the creases before outlining them with a black marker. Giving each monster a name and a one-line description adds a writing element. See Halloween froissage monsters for a full 45-60 minute session plan, and a gentler “crease creatures” version for children who dislike scary images.
Both projects use the same materials as basic froissage, plus wax crayons for batik, so they are easy to fit into a term plan. In September and October, children can also turn their washed sheets into leaves with our autumn leaves crumpled paper art project.
Displaying the results
Crumpled paintings will stay a little bumpy. Press them under heavy books overnight before putting them on the wall. A row of froissage creatures makes a striking classroom display; our guide on how to display froissage art has simple ideas, and crumpled paper art ideas offers more projects to try next.
Frequently asked questions
What age is froissage suitable for?
From about age 5 with adult help for opening the paper and handing out paint. Children aged 8 and up can work independently and try variations such as two-colour washes or collage.
How long does a froissage activity take?
About 45 to 60 minutes: 10 minutes to crumple and paint, 20 to 30 minutes of drying (a good time to read a story or tidy up), and 15 minutes to find and draw the image.
Is froissage messy?
It involves liquid paint, so cover tables and use aprons. Using washable paint and giving each child a small pot of pre-diluted colour keeps the mess under control.
How do I explain froissage to children?
Tell them it is a French word for crumpling, and that an artist from Czechoslovakia called Ladislav Novák made pictures by crumpling paper and finding shapes in the lines, just like finding animals in clouds.
Sources
Editorial team
The Froissage.com editorial team researches the history of froissage from museum, encyclopedia and publisher sources and writes practical guides to the technique.