Classroom
Crumpled Paper Art for Preschoolers: 8 Simple Activities
Written by Froissage Editorial Team · Updated
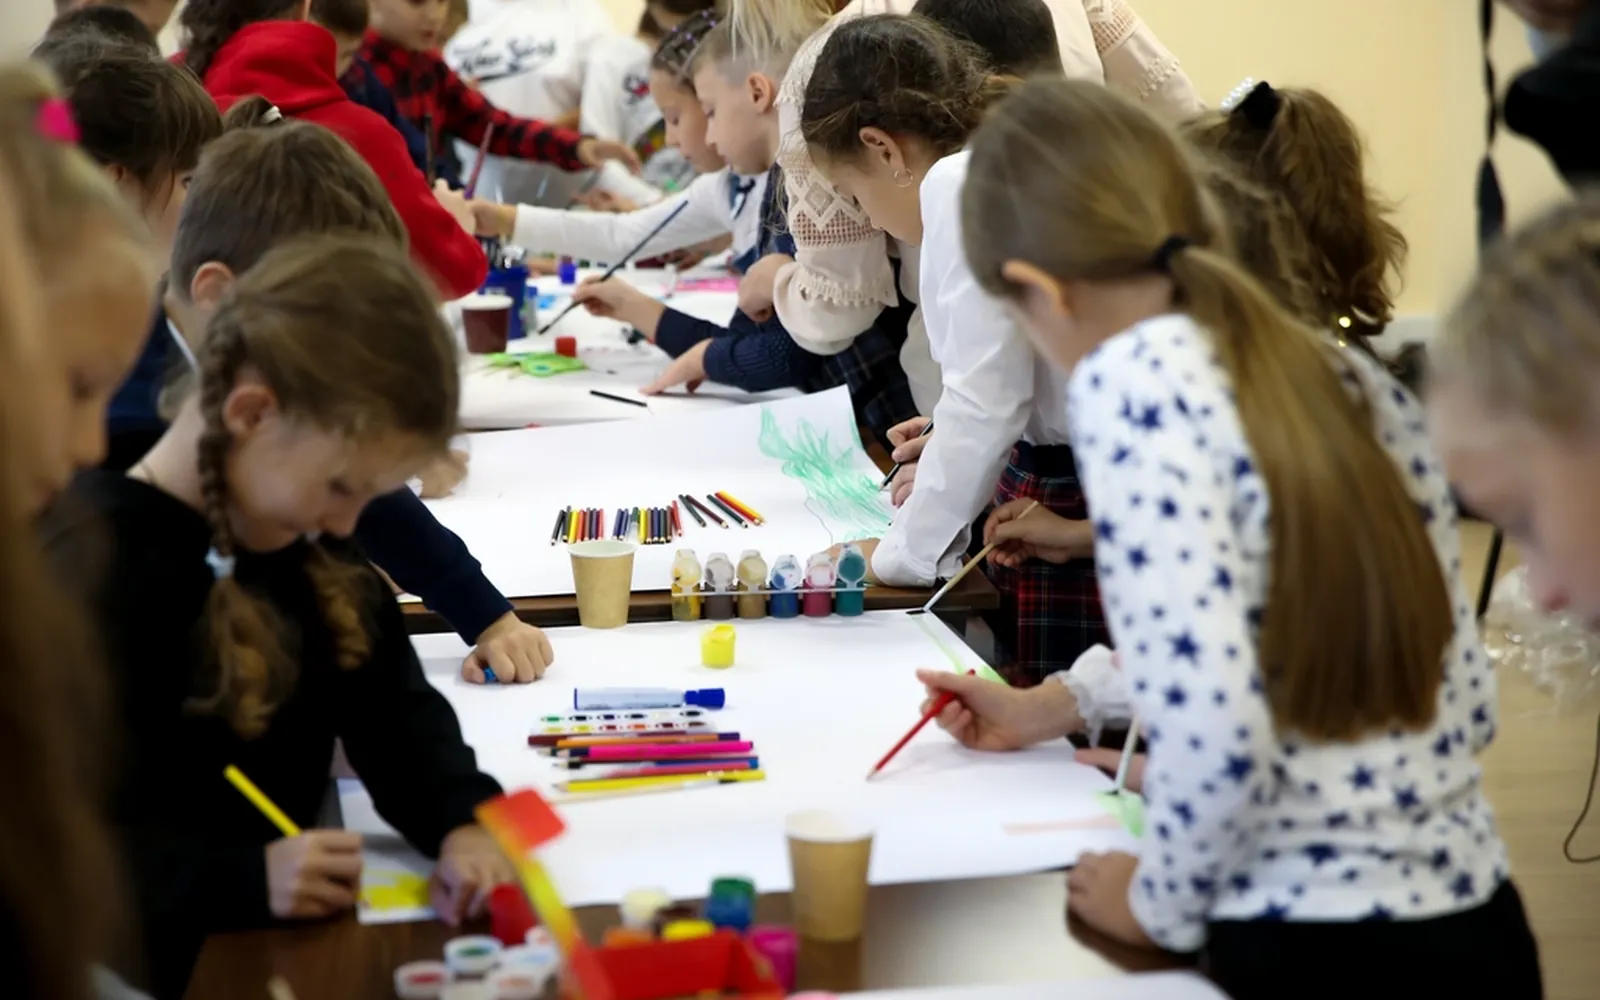
Crumpled paper art for preschoolers is one of the simplest ways to start making art with very young children. Every child can scrunch a sheet of paper; the sound, the feel and the instant change of shape are fascinating at two, three or four years old. From that single action come dozens of activities: collage, printing, painting over creases and even small sculptures. This guide gives eight tried-and-tested ideas, explains what children gain from them, and shows how to adapt froissage, the crumpled-paper technique this site is about, for little hands.
Why crumpling works so well at this age
It needs no skill. Unlike drawing a recognisable picture, crumpling cannot go wrong. That builds confidence.
It builds hand strength. Squeezing, tearing and rolling paper use the small muscles of the hands and fingers. Wikipedia’s entry on fine motor skills describes these as the coordination of small muscles in the hands and fingers. Children use the same muscles later to hold pencils and scissors.
It is sensory. Paper crackles, changes shape and texture, and feels different when crumpled tight or loose. Many early-years frameworks, including England’s Development Matters guidance, encourage children to explore different materials and textures through creative activities.
It invites talk. “What does it look like now?” is a question every child can answer, which supports language as well as art.
Eight crumpled paper activities for preschoolers
1. Tissue paper ball collage
Tear coloured tissue paper into squares. Children scrunch each square into a small ball and press it onto card spread with glue. Draw a simple outline first (an apple, a tree, a fish) for them to fill, or let them make free patterns. Tissue is soft and easy to crumple even for two-year-olds.
2. Paper ball dab printing
Crumple newspaper into a loose ball, dip it in a tray of thin poster paint and dab it onto paper. The prints look like clouds, bushes or animal fur. This is the simplest form of crumpled paper printing.
3. Crumple and paint (first froissage)
An adult crumples a sheet of cartridge paper and opens it out flat. The child brushes watercolour or very thin poster paint over it. The colour runs into the creases and outlines them. When it dries, look together for shapes: “I see a dragon!” That is froissage in its simplest form. Our page on froissage for kids shows the next steps for older children.
4. Crumpled paper snowballs or pompoms
Scrunch white paper into balls, then sort them by size, count them or stick them onto a winter scene. Coloured paper balls make flowers or a caterpillar.
5. Texture rubbing on crumpled paper
Crumple and flatten a sheet, lay thin paper on top, and rub with the side of an unwrapped crayon. The creases appear as lines. It introduces the idea behind frottage.
6. Crumpled paper sculpture
Tape two or three crumpled newspaper balls together to make a snowman, a caterpillar or a monster. Add eyes with stickers. See crumpled paper sculpture for bigger versions.
7. Autumn tree
Paint a tree trunk on card, then glue on small balls of red, orange and yellow tissue for leaves. In October and November this pairs well with our autumn leaves crumpled paper art ideas.
8. Listening and moving game
Before any art, play with the paper: crumple it slowly and quickly, loudly and quietly, then throw it gently into a basket. It is a warm-up that releases energy and introduces the material.
Setting up for success
- Short sessions. Ten to twenty minutes is plenty. Let children leave and return.
- One technique at a time. Too many choices at once overwhelms young children.
- Right paper. Tissue and crepe for the youngest; newspaper and printer paper for balls and printing; cartridge paper for painting.
- Washable materials. Washable paint and non-toxic glue sticks or PVA.
- Process over product. Praise effort and choices (“You used so many blues!”) rather than resemblance.
Adapting activities by age
Around two years. Focus on the action: crumpling tissue, dropping balls into a box, pressing them onto sticky-backed plastic stuck to a window. Avoid paint unless an adult holds the tray.
Around three years. Add glue and simple printing. Children can dab a paper ball in paint and press it on paper, and glue tissue balls inside a large outline.
Around four to five years. Children can try crumple-and-paint froissage, talk about what they see in the creases, tape crumpled balls into simple sculptures and follow two- or three-step instructions.
Every child develops at their own pace, so treat these as rough guides and watch what each child enjoys.
Questions to ask while children work
- What sound does the paper make when you crumple it slowly? And fast?
- Is it easier to crumple big paper or small paper?
- What does your crumpled paper look like? A rock? A cloud? An animal?
- What happens to the paint when it reaches the lines?
Writing down children’s answers next to their work turns a simple activity into a record of their thinking.
Safety
Supervise closely with children under three: small paper balls and tissue can be put in mouths. Choose paints and glues labelled as suitable for children. Keep scissors for older children and use them only with an adult.
Displaying preschool crumpled art
Crumpled work is three-dimensional and delicate. Display it on boards at children’s eye level, write their own words next to each piece, and photograph it for families before it gets squashed. For ideas on frames and walls, see how to display froissage art.
Two more crumpling activities for small hands
When children are confident with crumpling and gluing, two related activities extend the same skills.
Scrunched tissue paper balls. Squares of tissue are scrunched into small balls and pressed into a glued outline until it is filled, like a soft mosaic. The pinching motion is good practice for the finger control needed later for holding pencils. Use large squares for the youngest children and pre-glue the shape. Our guide to scrunched tissue paper art has step-by-step instructions and seasonal ideas.
Crumpled foil. Kitchen foil crumples easily, keeps its creases and shines. Glue a crumpled and reopened sheet to card, then let children paint it with poster paint mixed with a little PVA and dab the high points with a tissue. The silver ridges appear through the colour. See aluminum foil art for more projects; fold over any cut foil edges before handing it to small children, as they can be sharp.
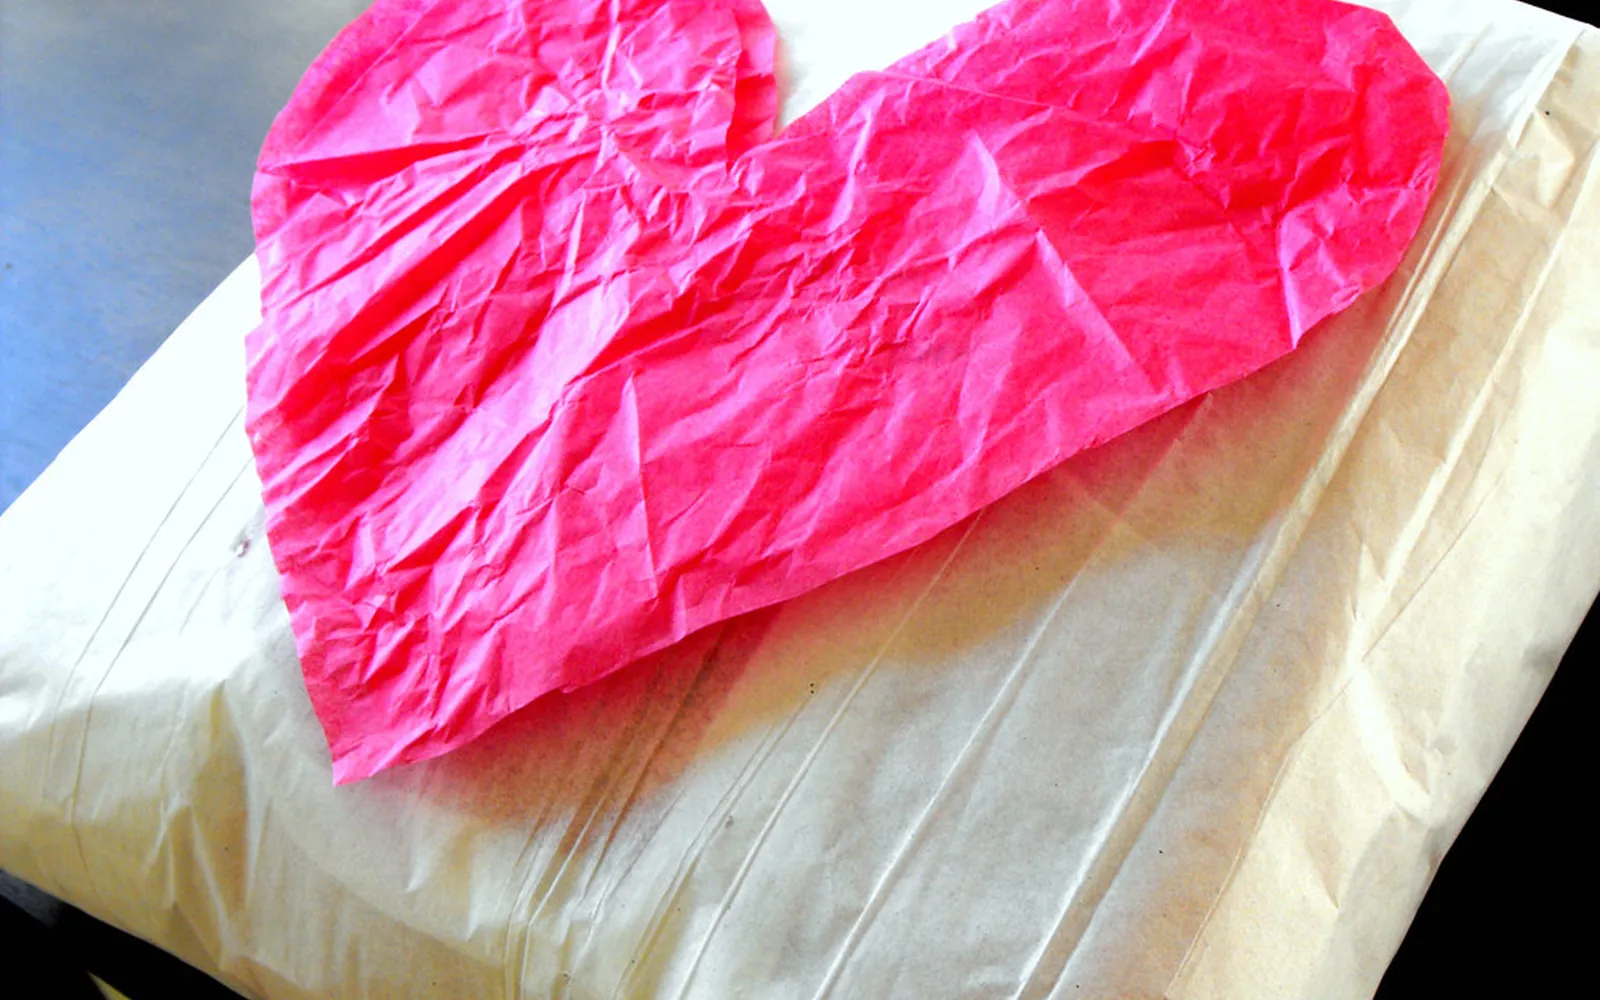
Crumpled paper can carry a message too. The wrinkled heart activity uses a creased paper heart to talk about kindness, and in December the scrunched tree and snowball garland in crumpled paper Christmas crafts suit the same age group.
Frequently asked questions
Is crumpling paper good for preschoolers?
Yes. Scrunching, tearing and squeezing paper uses the small muscles of the hand and fingers, which supports fine motor development, and it gives children a quick, satisfying way to make art.
What paper is best for crumpled paper art with toddlers?
Tissue paper and crepe paper are easiest for small hands. Newspaper and thin printer paper are good for balls and printing. Thick card is too hard for most two- and three-year-olds to crumple.
Can preschoolers do froissage?
A simplified version, yes. An adult helps open and flatten the crumpled sheet, the child brushes thin watercolour over it, and together you look for shapes in the creases. Most four- and five-year-olds enjoy naming what they see.
How long should a preschool art activity last?
Short sessions of about 10-20 minutes suit most children in this age group. Let children stop when they lose interest and return later.
Sources
Editorial team
The Froissage.com editorial team researches the history of froissage from museum, encyclopedia and publisher sources and writes practical guides to the technique.