Classroom
Scrunched Tissue Paper Art: Easy Mosaic and Collage Ideas
Written by Froissage Editorial Team · Updated
Scrunched tissue paper art is one of the friendliest ways to start working with crumpled paper. Small squares of tissue are scrunched into balls and pressed into a drawn outline until the shape is covered in a bumpy, colourful mosaic. There is no right or wrong way to scrunch, the results are always bright, and the activity quietly builds finger strength and patience. This guide explains the basic method, materials that work, colour tips and projects for the whole year.
Why scrunch tissue paper?
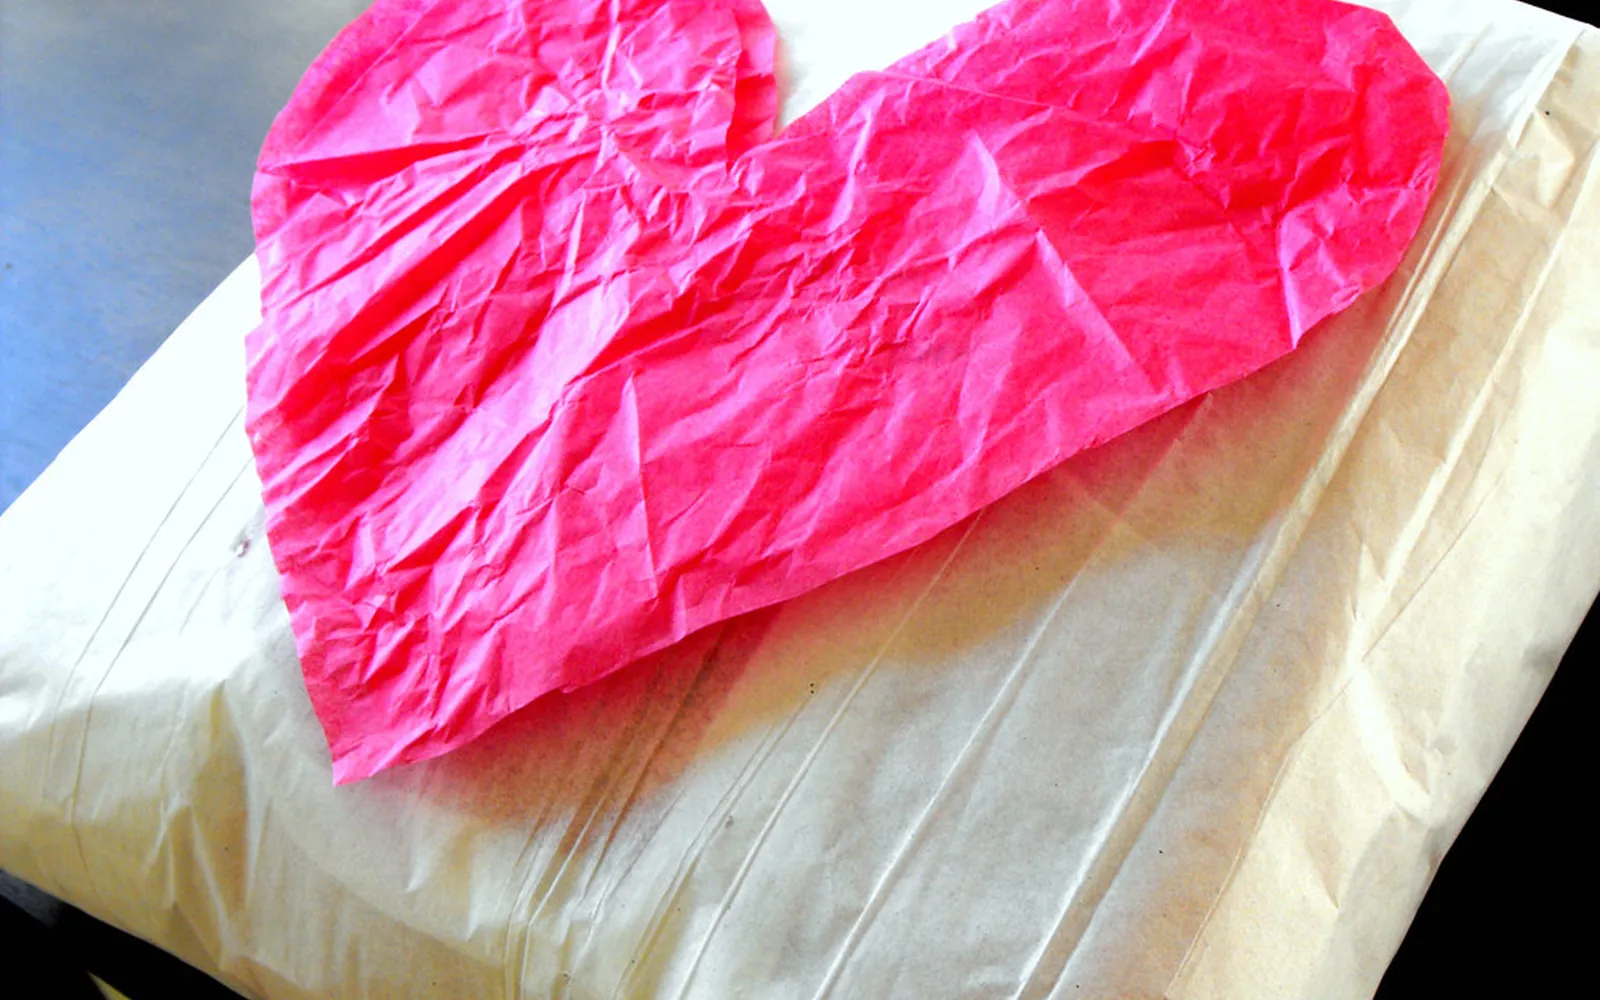
Tissue paper is thin, soft and comes in strong colours. Wikipedia describes it as a lightweight paper, and that lightness is what makes it so easy to scrunch: even very small hands can crush a square into a ball. Each ball is slightly different, so the finished surface has the irregular texture that makes crumpled paper interesting, the same quality we exploit in froissage (see what is froissage).
For young children, the repeated pinching and rolling is also good practice for the fine motor control needed for holding pencils and scissors. That is why tissue paper balls are a classic activity in preschool and early primary classrooms. Our guide to crumpled paper art for preschoolers has more ideas for that age group.
Materials
- Tissue paper in several colours. Craft packs are fine.
- Card for the base: cereal-box card, sugar paper on card, or paper plates.
- PVA glue and spreaders or old brushes.
- Scissors for the adult, or child-safe scissors for older children.
- Small pots or trays to sort squares by colour.
- A pencil or marker for the outline.
The basic method
- Draw a bold outline. Simple, large shapes work best: an apple, a heart, a fish, the first letter of a name.
- Cut squares. About 3 to 5 cm for most hands; larger for toddlers, smaller for detailed work.
- Scrunch. Show two methods: pinching the square into a ball between finger and thumb, and rolling it between flat palms. Let children choose.
- Glue a small area. Spread a thin layer of PVA over one part of the outline only, so it stays wet while you work.
- Press the balls in. Pack them close together so no card shows between them.
- Dry flat. Leave the work flat for a few hours, or overnight if the glue is thick.
Colour tips
- Shades of one colour. Three greens in a leaf or three reds in an apple give depth and look more natural than a single flat colour.
- Outline in a contrast colour. A row of dark balls around the edge makes the shape stand out.
- Gradient. Fill from light to dark across the shape, as in a sunset or a flame.
- Leave some flat. Mixing scrunched balls with flat, torn tissue shows the difference between texture and smooth areas, an idea explored further in froissage collage.
Project ideas through the year
- Autumn: leaves and pumpkins in oranges, reds and browns, with real twigs glued on for stems. Pair with autumn leaves crumpled paper art.
- Winter: white and pale blue snowmen and snowflakes on dark card.
- Spring: flowers, butterflies and lambs, using pastel tissue.
- Summer: fish, shells and suns. An underwater scene combines well with a crumpled foil background from aluminum foil art.
- Any time: initials and names, rainbows, animals, maps of an island or a country.
Bleeding tissue paper
Some craft tissue paper is not colourfast: when it gets damp, the dye runs. Check the packaging if this matters, and wash hands after use. The same property can be used deliberately. Lay pieces of damp bleeding tissue on white paper, brush them with water, leave them to dry and peel them away. The colour stays behind as soft, unpredictable shapes, a chance texture you can then draw into, much as you would with the creases of a froissage sheet.
Scrunched tissue and art history
Gluing paper onto a surface to make a picture is collage. Tate’s glossary describes collage as both the technique and the resulting work, in which paper and other materials are stuck to a supporting surface, and notes that the term comes from the French papiers collés and that artists took up the technique in the early twentieth century. Scrunched tissue art is collage in three dimensions: instead of flat cut-outs, each piece is a small sculpture. Talking about this with older pupils is an easy route into art history.
Adapting for different ages
- Ages 2-3: large squares, a pre-glued shape, and an adult to help with pressing. Focus on the feel of the paper.
- Ages 4-6: children draw their own outline, spread the glue and choose colours.
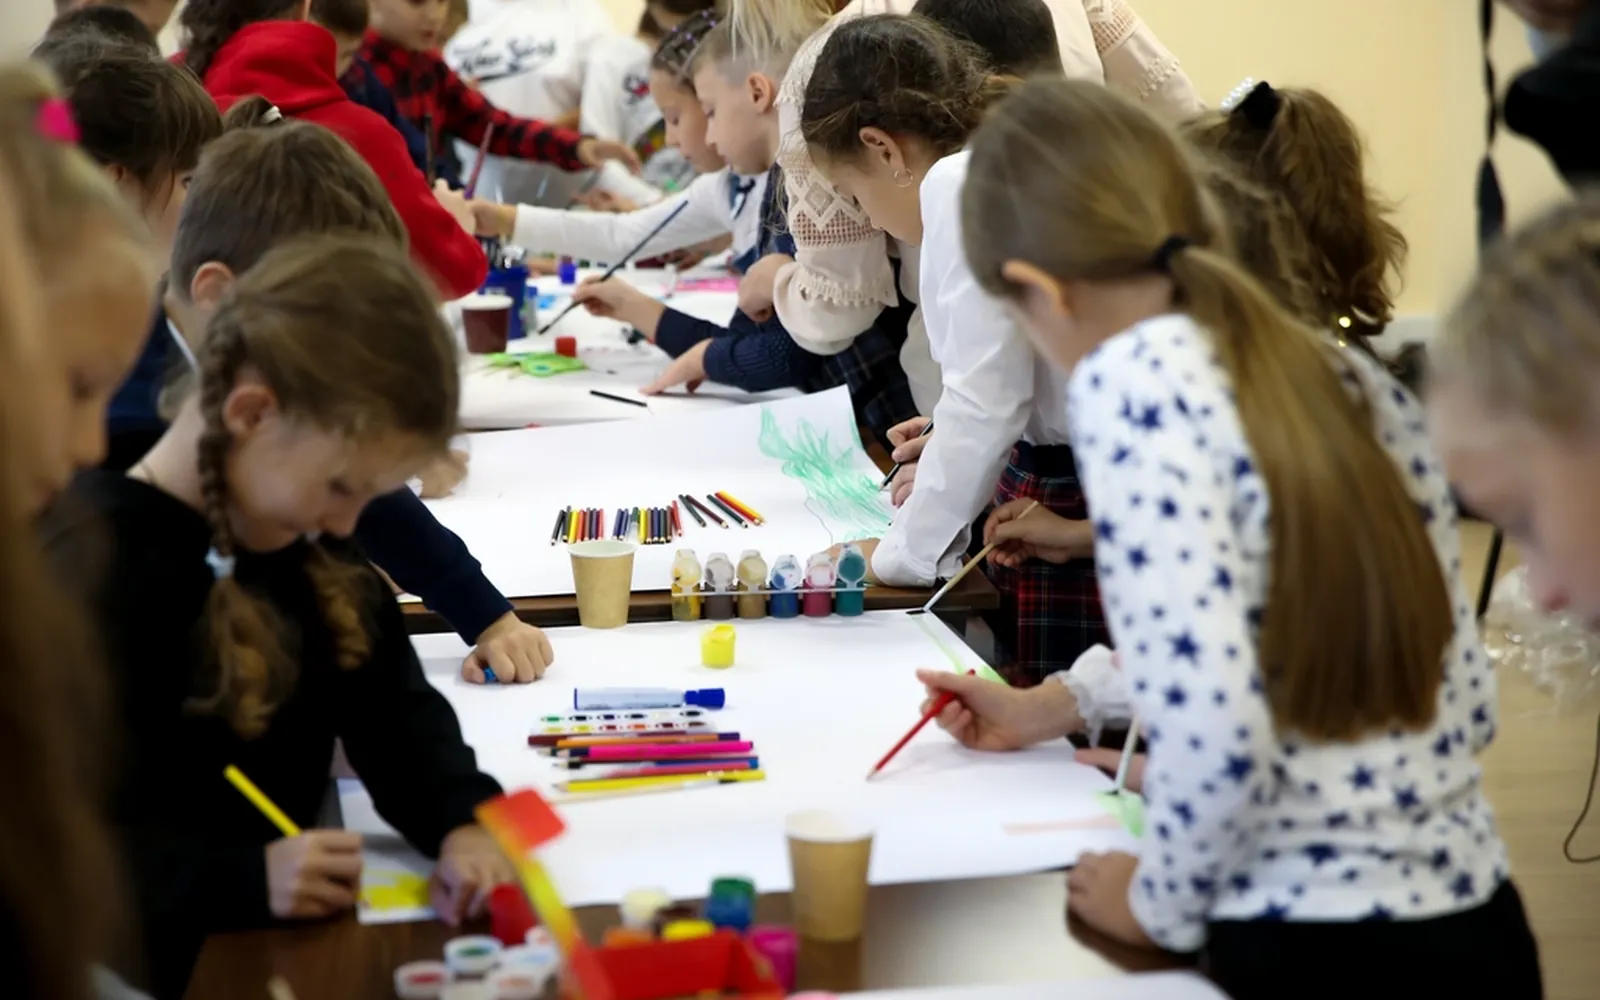
- Ages 7 and up: smaller squares, shading, and pictures planned in detail. Try making a group mosaic on a large sheet, each child filling one section.
Talking about the work
Ask children to describe how the finished surface feels compared with smooth paper, and how it looks when you shine a torch from one side. The bumps cast tiny shadows, exactly as the creases of a crumpled sheet do. That simple observation leads straight into froissage: crumple a whole sheet, open it, and look for pictures in the shadows. Older pupils can then compare their tissue mosaic with an ancient stone mosaic and discuss what changes when every piece is soft and slightly different.
Tidy-up and display
Keep squares in labelled pots so colours do not mix. Put newspaper under the work. Displayed on a wall, tissue mosaics catch side light beautifully; for ideas on hanging crumpled-paper work, see how to display froissage art.
Frequently asked questions
How do you make scrunched tissue paper art?
Cut tissue paper into small squares, scrunch each square into a ball between finger and thumb, spread PVA glue inside a drawn outline, and press the balls close together until the shape is filled.
What age is scrunched tissue paper art for?
From about three years old with large squares and help with the glue. Older children can work with smaller squares, more colours and detailed designs.
What glue is best for tissue paper balls?
PVA (white) glue, spread in a thin layer over a small area at a time. Glue sticks dry too quickly and hold the balls less well.
Why do my hands turn colours when using tissue paper?
Some tissue paper is not colourfast and releases dye when it gets damp from glue or warm hands. Check the packaging, or use that property on purpose by laying wet tissue on white paper to transfer colour.
Sources
Editorial team
The Froissage.com editorial team researches the history of froissage from museum, encyclopedia and publisher sources and writes practical guides to the technique.