Classroom
Crumpled Paper Watershed Model: A Classroom Activity
Written by Froissage Editorial Team · Updated
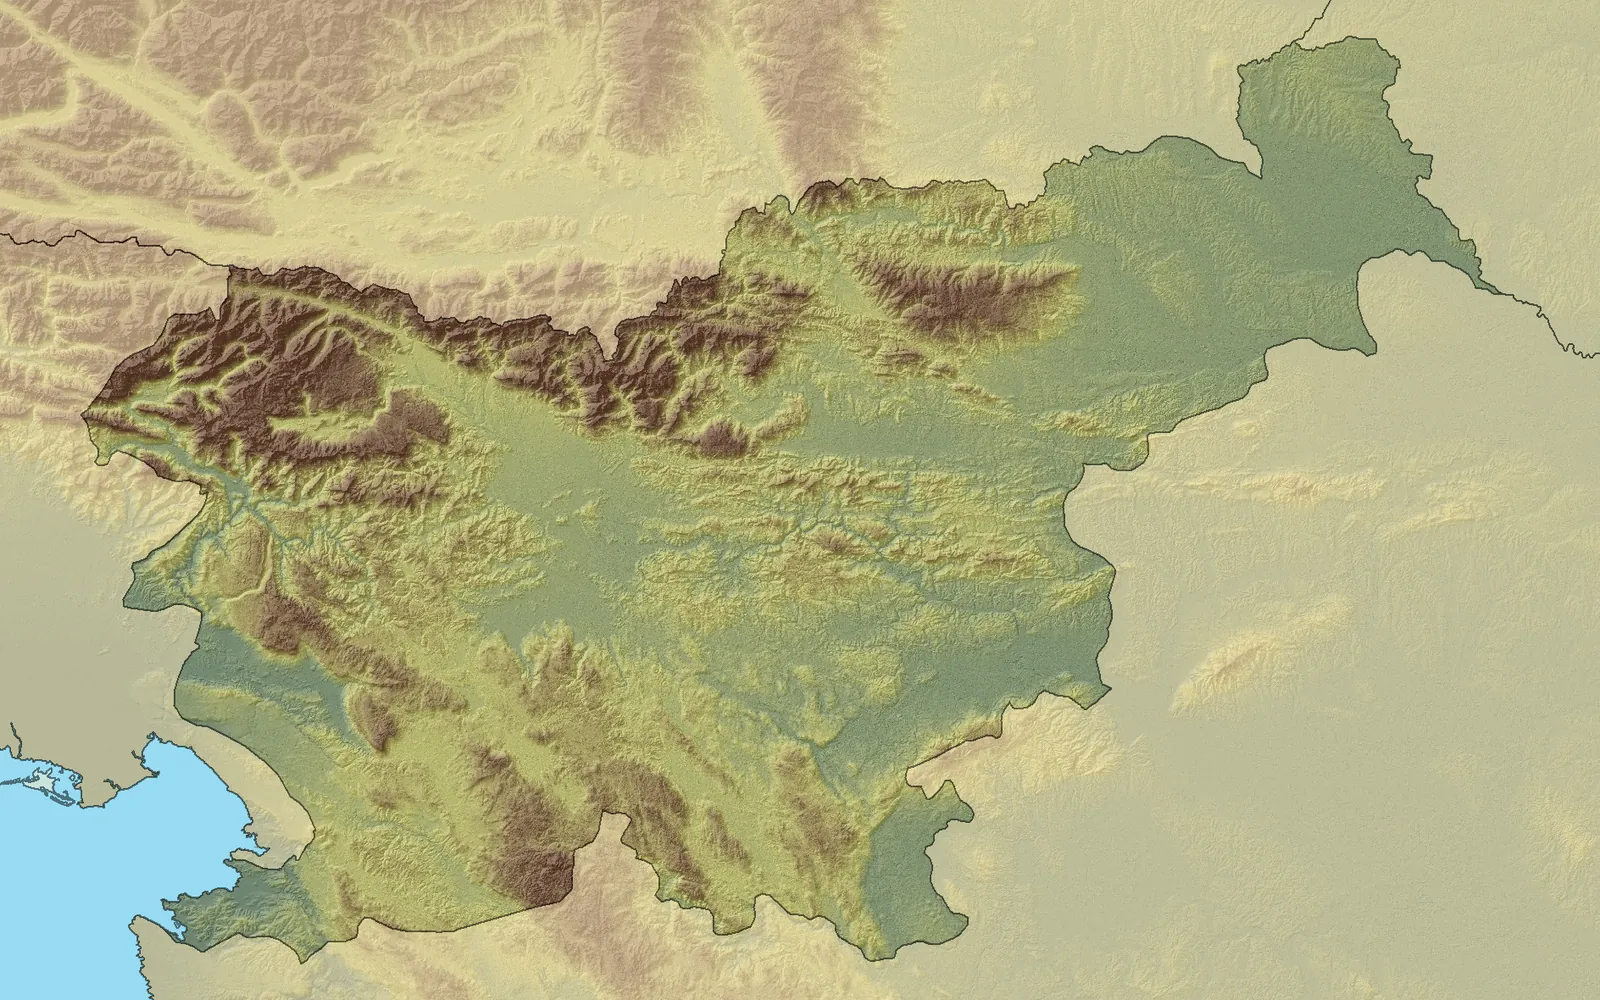
A crumpled paper watershed model is one of the simplest science activities you can run with a classroom’s scrap paper. Crumple a sheet, open it, mark the ridges with a washable marker and spray it with water. The colour runs down the slopes into the creases, and in a few seconds pupils can see how rain on high ground ends up in valleys, streams and lakes. A second round with drawn houses, farms and roads shows how what we do on land reaches the water.
It sits well on a site about froissage, because the starting point is exactly the same: a sheet crumpled and opened to reveal a network of ridges and valleys. In froissage those creases become an image; here they become a landscape you can study.
What a watershed is
The US Environmental Protection Agency defines a watershed as the land area that drains to one stream, lake or river. NOAA’s National Ocean Service describes it as a land area that channels rainfall and snowmelt to creeks, streams and rivers, and on to outflow points such as reservoirs, bays and the ocean. It notes that watersheds, also called drainage basins or catchments, can be defined on several scales, from the land around a small lake to an area as large as a county or more.
The boundary of a watershed is the high ground around it. Rain falling on one side of a ridge flows into one valley; rain falling on the other side flows into the next. This is what pupils see on the crumpled sheet: the highest creases divide the “rain” into separate paths.
Why crumpled paper makes a good landscape
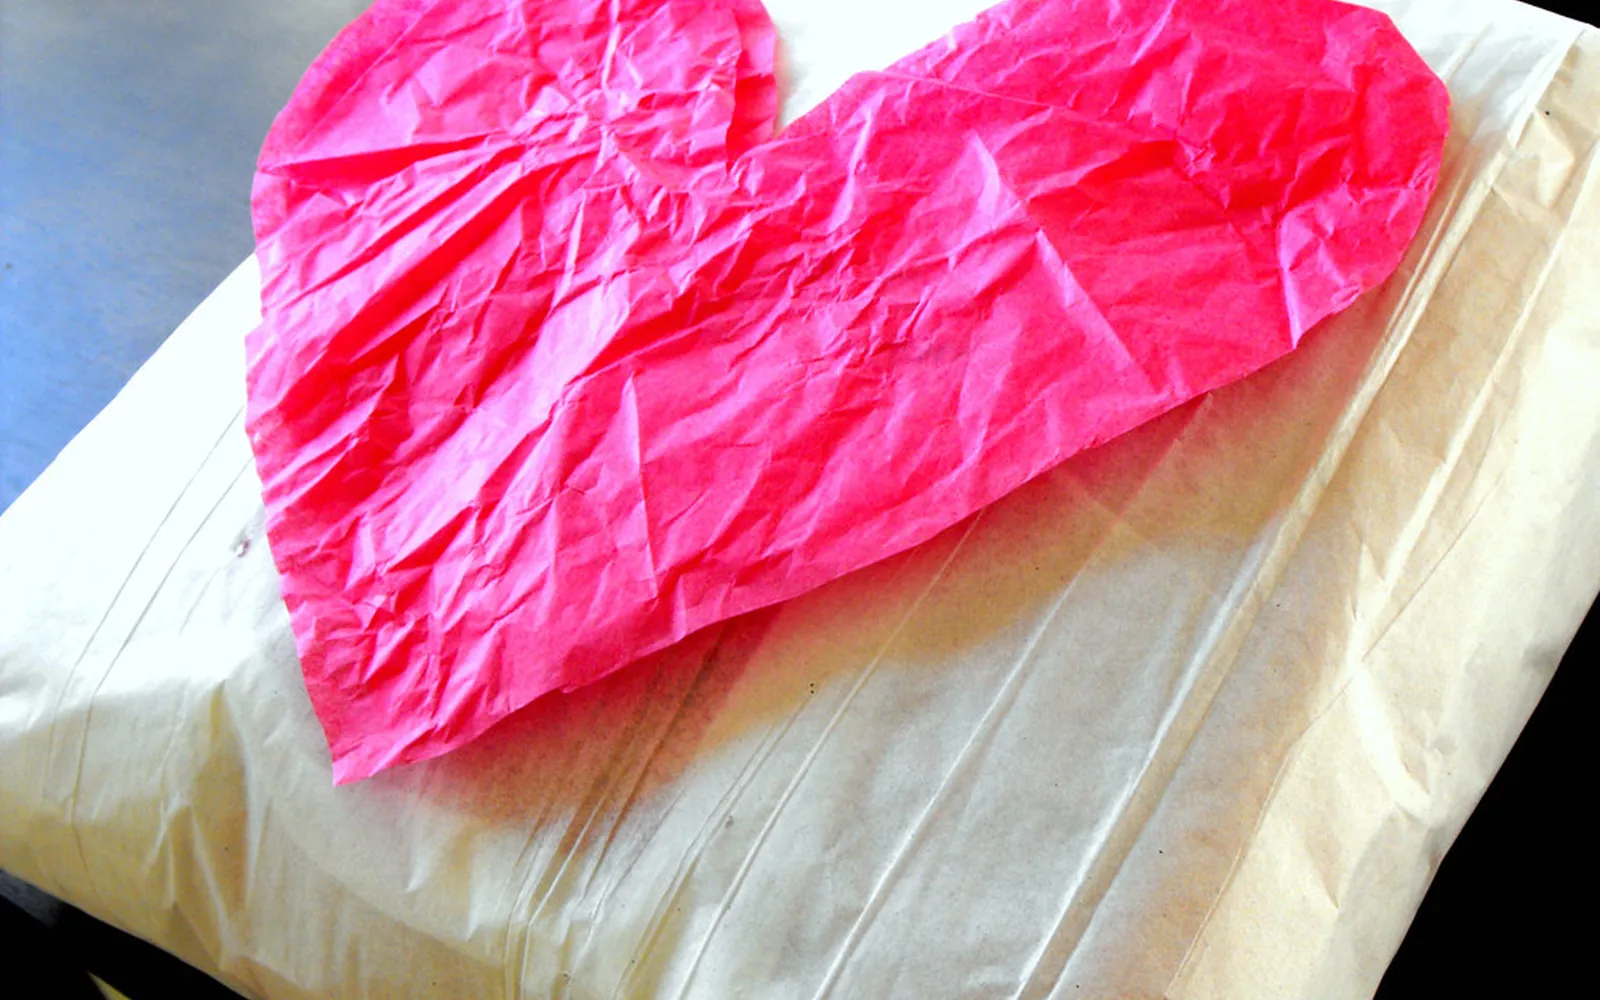
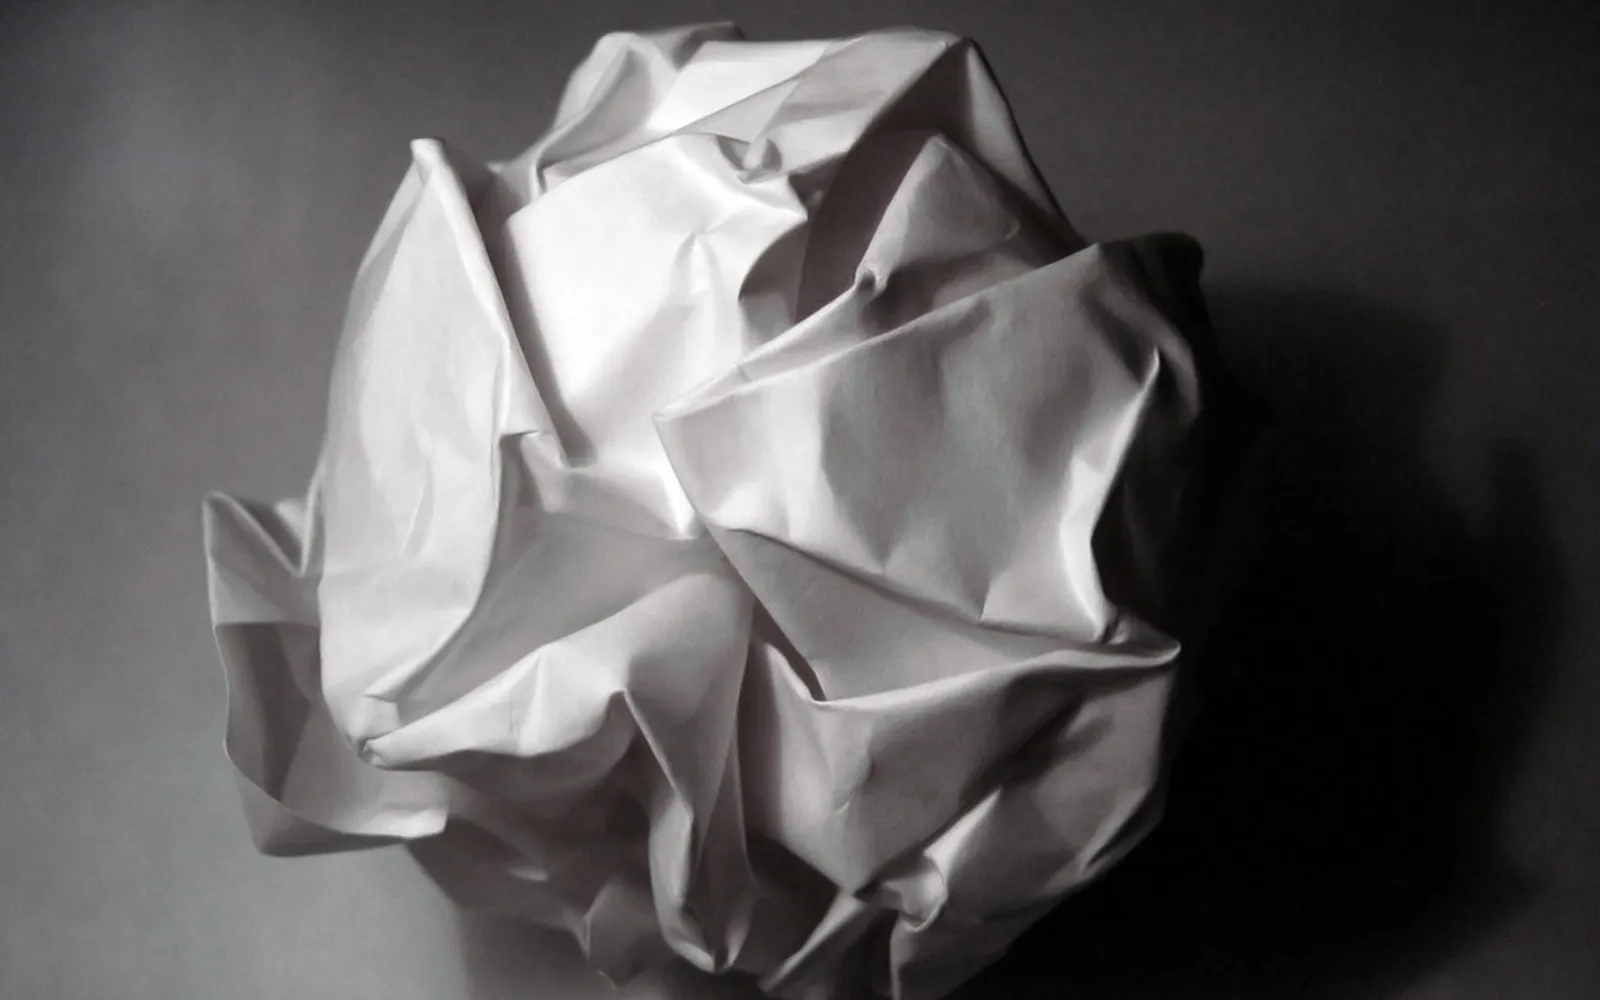
When paper is crumpled, it does not bend smoothly. It forms what physicists describe as a random network of ridges and flat facets. Opened out, that network looks remarkably like a relief map of hills and valleys, as the image at the top of this page shows. Every sheet crumples differently, so every pupil gets a unique landscape to explore, and nobody can copy the “right answer” from a neighbour.
Materials
- Heavy paper. Cartridge or watercolour paper holds up to spraying better than printer paper. A4 is a good size.
- Washable markers in blue and brown, or any colours that run when wet. Test them first.
- One permanent marker, for drawing houses, fields and roads that should not run.
- A spray bottle with clean water, set to a fine mist.
- A shallow tray, plate or lid for each model, plus paper towels.
- Optional: food colouring or a few drops of diluted paint as “pollution”, and aluminium foil for a comparison model.
The Concord Consortium teacher guide for this activity, adapted with permission from the Alice Ferguson Foundation, suggests heavyweight art paper, a spray bottle, water-based markers and one permanent green marker, and allows 15 to 30 minutes indoors, individually or in pairs. It also advises clearing desks completely, because things get wet.
Step by step
- Crumple. Crumple the sheet into a ball, then open it partly. Keep plenty of height: a nearly flat sheet makes a poor landscape.
- Set it in the tray. Press the edges down a little so it sits steadily. Some teachers tape the corners to the tray.
- Mark the ridges. Hold a washable marker on its side and run it lightly along the highest ridges, so only the tops take colour. These are the watershed boundaries.
- Predict. Before any water goes on, each pupil marks with a pencil dot where they think the water will collect, and draws an arrow for the path they expect it to take.
- Make it rain. Spray a light mist from above, a few pumps at a time. Watch the marker colour bleed and run down the slopes. Stop and look after each round.
- Read the result. Where did the water pool? Did it follow the predicted paths? Did any valleys join?
- Add land use. On a fresh sheet, draw a few houses, a farm field, a road and a factory in permanent marker. Put dots of washable marker or a drop of food colouring on them as fertiliser, oil or litter. Spray again and track where the colour goes.
- Dry and keep. Let the models dry flat. The stained runoff paths make striking prints in their own right.
Questions for discussion
- What happens to rain after it falls? Where does it go?
- Which parts of the landscape are the boundaries between watersheds?
- Where else could water go besides into streams and lakes? (Into the ground, into the air by evaporation, into plants.)
- Which areas caused the most runoff of “pollution”, and why?
- If you lived at the bottom of the valley, which activities upstream would affect you?
The Concord guide uses questions of the same kind, such as asking where rainwater goes and how areas in a watershed are connected. NOAA notes that as water flows it often picks up pollutants, which can affect the ecology of the watershed and the reservoir, bay or ocean where the water ends up. The second round of the model makes that visible in a minute.
Variations
- Foil comparison. Crumple and reopen a sheet of aluminium foil and spray it. Water does not soak in, so it pools in hollows like lakes. Compare it with the paper model and discuss the difference between ground that absorbs water and ground that does not, such as pavements and roofs. Our guide to aluminum foil art covers working with crumpled foil.
- Mapping. When the model is dry, lay tracing paper over it and draw the “rivers” and the watershed boundaries as a map.
- Wetland sponge. Place a small piece of sponge in one valley before spraying, and see how it slows and holds the water.
- Local link. Look up the name of your local river and the watershed your school sits in, and compare it with your model.
Turning the model into art
Many pupils find the dried model beautiful: blue and brown colour bled into a web of creases. This is the same effect that makes froissage work. A few ways to extend the lesson into art:
- A crumpled landscape painting. Use the method in crumpled paper landscape painting: crumple, open, wash with ink or watercolour and develop mountains and valleys from the creases.
- A froissage drawing. Follow how to do froissage and look for figures and scenes in the stained creases.
- Photograph it. Light the dried model from a low angle, as described in crumpled paper texture photography, to make the ridges stand out like a relief map.
- Cross-curricular display. Show the science models next to froissage landscapes, with labels explaining both. Our guide on how to display froissage art has ideas.
Tips for teachers
- Spray on a fine mist setting. A jet flattens the paper and washes everything into one puddle.
- Do a demonstration model first, so pupils see what “lightly along the ridges” means.
- Use trays with raised edges and keep paper towels at hand.
- If time is short, run only the first round and keep the land-use round for the next lesson.
- For a full lesson combining art and science, see our froissage lesson plan and add the watershed model as a starter or follow-up.
Safety
The activity uses only water, paper and markers, so the risks are small: wet floors and stained clothes. Wipe up spills as you go, use washable markers and food colouring rather than anything solvent-based, and remind pupils not to spray each other.
Frequently asked questions
What is a watershed, in simple terms?
The US Environmental Protection Agency defines a watershed as the land area that drains to one stream, lake or river. Everywhere on land is part of some watershed. Its boundary is the high ground, the ridgeline, that divides water flowing one way from water flowing another.
Why does the crumpled paper watershed model work?
Crumpling gives the paper real ridges and valleys. When you spray water on it, gravity pulls the droplets down the slopes into the creases, just as rain runs off hillsides into streams. Washable marker colours make the paths visible.
What markers do I need?
Water-based (washable) markers for anything that should run when wet, such as ridgelines and 'pollution', and one permanent marker for things that should stay put, such as outlines of houses or fields. Test your markers first, as some brands run more than others.
What age is this activity for?
It works from about age 7 upward. Younger children enjoy the spraying and colour runs; older pupils can map the watershed, predict where water will collect and discuss land use and pollution.
Can I use aluminium foil instead of paper?
Yes. Crumpled foil holds water in its valleys instead of soaking it up, so puddles form where a lake would be. Paper shows the paths of runoff better because the marker colour bleeds into it.
Sources
Editorial team
The Froissage.com editorial team researches the history of froissage from museum, encyclopedia and publisher sources and writes practical guides to the technique.