Classroom
Aluminum Foil Art: Crumpled Foil Painting and Relief Ideas
Written by Froissage Editorial Team · Updated
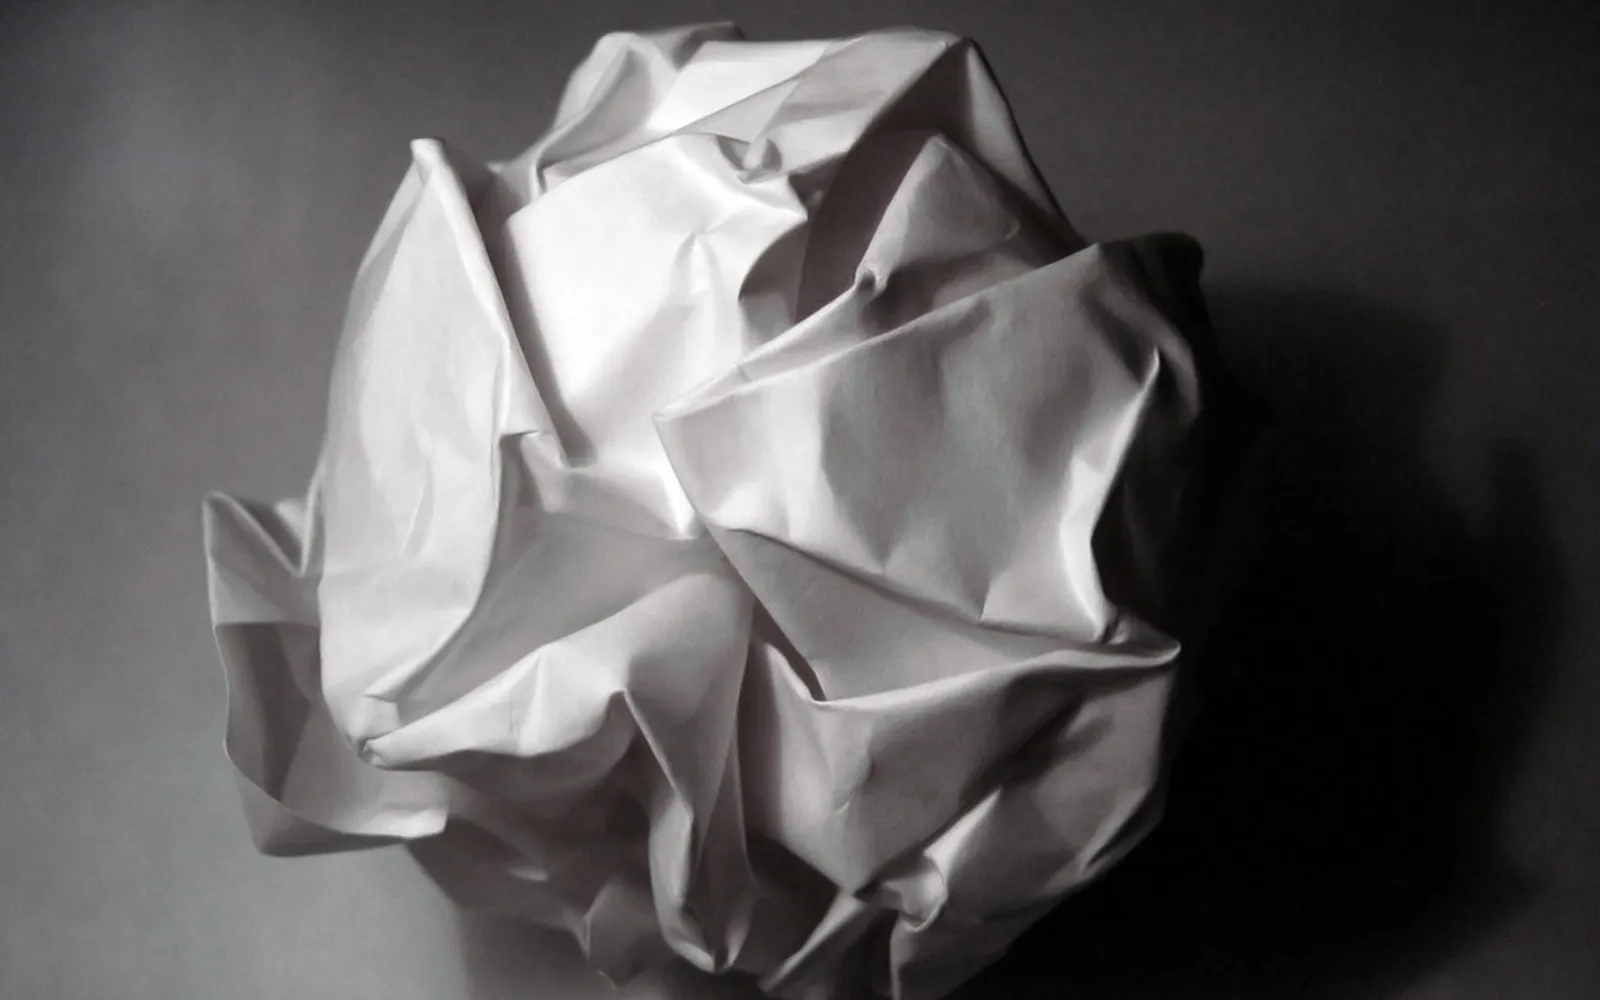
Aluminum foil art takes the idea of froissage, crumpling a sheet to make a texture, and swaps paper for metal. Crumpled foil does not just crease; it shines. Every ridge catches the light, so when you paint over it and wipe the high points, the result looks like hammered silver, cracked ice or a moonlit sea. Foil can also be pressed over raised shapes to make a relief, or used as a printing tool. This guide covers three projects that work with children and adults, plus practical tips on paint, glue and safety.
Why foil works for crumpled art
Wikipedia describes aluminium foil as aluminium rolled into very thin sheets. Unlike paper, it does not spring back after crumpling: each fold stays exactly where it was made. When you open a crumpled sheet, you get a sharp, faceted map of every crease, the same kind of network a froissage artist uses as the starting point for a drawing (see what is froissage).
The difference is light. Paper creases show up as soft shadows. Foil creases flash and glint, and they change as you move. That makes foil particularly good for subjects with sparkle or reflection: water, night skies, snow, armour, fish scales.
Materials
- Household aluminum foil. Standard thickness is fine; heavy-duty foil is easier to handle for embossing.
- Card as a base, such as cereal-box card or mount board.
- PVA glue or a glue stick.
- Paint: acrylic, or poster paint mixed with a little PVA so it grips the metal.
- Permanent markers for drawing on foil.
- String, wool or thin card for reliefs.
- Tissues or a soft cloth for wiping paint.
Project 1: Crumpled foil painting
- Tear a sheet of foil a little larger than your card.
- Crumple it gently into a loose ball. Tight crumpling makes tiny creases; loose crumpling makes larger facets.
- Open it and smooth it partly flat. Keep some texture.
- Spread glue over the card and press the foil down, wrapping the edges round the back.
- Paint the whole surface with one dark colour, such as deep blue, purple or black.
- Before the paint dries, wipe lightly with a tissue. Paint stays in the creases; the ridges show silver.
Then look at the result. Does it suggest a stormy sea, a rocky cliff, a night sky? Add a few details with a permanent marker or a dab of white paint: a boat, a moon, a lighthouse. This is the froissage method in metal. Compare it with froissage with acrylic paint, which uses the same wipe-back trick on paper.
Project 2: Embossed foil relief
This is a raised picture in foil, related to the metalworking technique that Wikipedia describes as repoussé and chasing, in which metal is shaped by hammering it from the back and refined from the front.
- Draw a simple design on card: a leaf, a fish, a pattern of spirals.
- Glue string or wool along the lines, or cut shapes from thin card and glue them on. Let it dry.
- Cover the whole card with a sheet of foil, folding it round the back.
- Rub gently with your fingertips, then with a cotton bud or the rounded end of a paintbrush, so the raised design shows through.
- For an antique look, brush black paint or shoe polish over the surface and buff the high points with a cloth.
Tate’s glossary defines a relief as a sculpture in which the forms project from a flat background. A foil relief is a quick way to understand that idea with very cheap materials.
Project 3: Printing with crumpled foil
Crumpled foil also makes a printing tool. Crumple a small piece into a loose ball, dab it into paint on a palette, and stamp it onto paper. Each stamp leaves a broken, rocky texture. Layer two or three colours to build up foliage, stone walls or lichen. This is closely related to the dabbing method in our guide to crumpled paper printing, but foil keeps its shape longer and gives crisper marks.
Project ideas by season
- Winter: a crumpled foil ice landscape painted in pale blue and white.
- Autumn: foil leaves embossed over string veins and coloured with markers.
- Festive: foil reliefs of stars and baubles to hang in a window.
- Under the sea: a crumpled foil background with tissue paper fish, combined with scrunched tissue paper art.
Tips for better results
- Paint beading on the foil. Mix in more PVA, or a tiny drop of washing-up liquid, or switch to acrylic.
- Foil tearing. Crumple more gently, or use heavy-duty foil for embossing.
- Glue showing through. Use a thin, even layer and press the foil down from the centre outwards.
- Too shiny to photograph. Light the work from one side and avoid flash, as in crumpled paper texture photography.
Safety and sustainability
- Cut foil edges can be sharp. Fold them over, and supervise younger children.
- Keep foil projects away from microwaves, toasters and electrical sockets.
- Use clean offcuts and kitchen foil that has been rinsed; many recycling schemes accept clean foil, so check your local rules for scraps you do not use.
From foil back to paper
Foil art is a good bridge into froissage for groups that find blank paper intimidating. The shine catches attention, and the wipe-back method gives an instant result. Once pupils have seen how a crumpled surface suggests images, move to ink on paper with our froissage for kids guide, or into three dimensions with crumpled paper sculpture.
Frequently asked questions
What paint sticks to aluminum foil?
Acrylic paint grips foil well. Poster paint tends to bead up on the shiny surface, so mix in a little PVA glue or a drop of washing-up liquid. Permanent markers also work.
How do you make crumpled foil art?
Crumple a sheet of foil gently, open it and smooth it partly flat, then glue it to card. Paint over it with thin colour and wipe the high points with a tissue so the silver creases shine through.
How do you make embossed foil art?
Glue string or card shapes to a piece of card, cover it with foil and rub it gently with your fingers or a soft cloth so the raised design shows through. Wikipedia describes the related metal technique as repoussé and chasing.
Is foil art safe for young children?
Yes with supervision. Fold over cut edges, which can be sharp, and use blunt tools for pressing. Keep foil projects away from microwaves, toasters and electrical sockets.
Sources
Editorial team
The Froissage.com editorial team researches the history of froissage from museum, encyclopedia and publisher sources and writes practical guides to the technique.