Technique
Drip Painting Technique: Pouring Paint and Letting It Fall
Written by Froissage Editorial Team · Updated
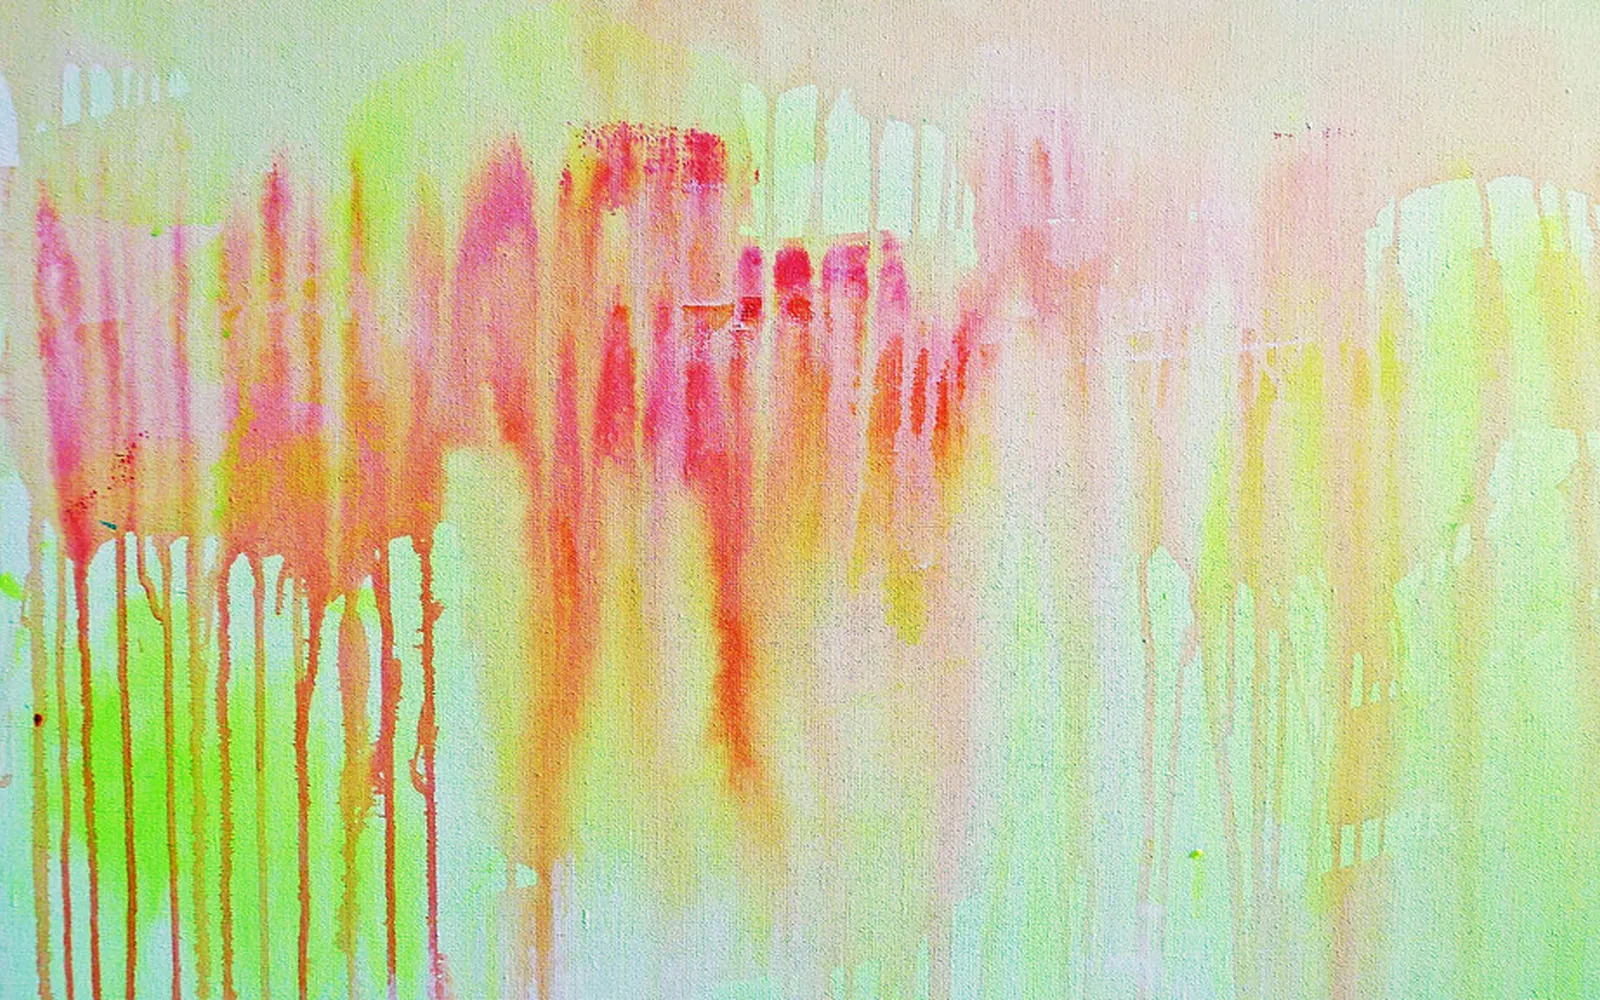
The drip painting technique is exactly what it sounds like: instead of brushing paint on, you let it drip, pour or fall onto the surface. The line comes from the flow of the paint, the height it falls from and the movement of your arm. It is most closely associated with Jackson Pollock, but it has a longer and more varied history, and it is one of the easiest ways to bring chance into a painting. That makes it a natural neighbour of froissage, in which the creases of a crumpled sheet, rather than the artist’s hand, decide where ink flows.
What drip painting is
Drip painting is an art style, often abstract, in which paint is dripped or poured onto the canvas. In practice the term covers several gestures:
- Dripping from a stick, brush or spoon held above the surface.
- Pouring directly from a can, cup or squeeze bottle.
- Flicking paint with a quick wrist movement, which gives splatters.
- Running drips made by letting paint flow down an upright surface, as in the photograph on this page.
All of them share one principle: the artist sets things in motion, and gravity and the fluidity of the paint do the rest.
A short history
Surrealist beginnings
The Surrealists valued methods that bypassed conscious control. Tate defines automatism as creating art without conscious thought. Max Ernst, already the inventor of frottage and grattage, developed a method of painting by swinging a punctured bucket of paint over a horizontal canvas, so that the paint traced looping, swinging lines. Related chance methods of the period include decalcomania and fumage; our hub on surrealist art techniques gathers them.
Siqueiros’s workshop
In 1936 the Mexican muralist David Alfaro Siqueiros ran an experimental workshop in New York in which artists poured, splashed and dripped liquid paint. The young Jackson Pollock took part, and his biographers note that this was where he was introduced to liquid paint, even if the workshop is rarely credited as an influence on his later work.
Janet Sobel
Janet Sobel (1893-1968), born in Katerynoslav (now Dnipro, Ukraine), emigrated to the United States, lived in Brooklyn and began painting in 1937 without formal training. She made poured, all-over paintings in the mid-1940s. Her Milky Way (1945), now in the Museum of Modern Art, predates Pollock’s first drip paintings by about two years. She showed in Peggy Guggenheim’s Art of This Century gallery in 1945 and 1946. The critic Clement Greenberg later wrote that Pollock had noticed her paintings and admitted they made an impression on him, and Greenberg credited her with the first all-over painting he had seen.
Jackson Pollock
Pollock’s most famous paintings were made during his “drip period” between 1947 and 1950. After moving to Springs, on Long Island, he converted a barn into a studio and laid his canvases on the floor, so that he could work from all four sides. He used sticks, hardened brushes and even basting syringes to apply the paint, and favoured synthetic resin and household enamel paints, which were more fluid than traditional tube oils. Fluid paint is the reason the canvas had to lie flat: on an upright surface it would simply run.
In 1952 the critic Harold Rosenberg described the “action painters”, for whom what went onto the canvas was not a picture but an event. The term action painting has been attached to Pollock ever since. Tate places this work within abstract expressionism, the broad American movement of the 1940s and 1950s.
Pollock’s paintings are still protected by copyright, so we do not reproduce them here; major museums with modern collections show them online.
Others
Ladislav Novák, the Czech poet and artist central to the history of froissage, heard about Pollock’s action painting on the radio in the late 1950s and began pouring paint in small, intimate works. Our page on Ladislav Novák and froissage describes how pouring sat alongside crumpling in his range of techniques.
Materials for a home or classroom version
- Paint. Washable poster or tempera paint thinned with water for children; fluid acrylic or acrylic with pouring medium for adults. Aim for the consistency of single cream. Avoid household enamel and solvent-based paints indoors.
- Applicators. Wooden sticks, old brushes, plastic spoons, squeeze bottles, turkey basters, paper cups with a small hole punched in the base.
- Surface. Heavy cartridge paper, card, cardboard or a cheap canvas. Thin paper cockles badly under wet paint.
- Covering. Plastic sheeting or newspaper extending well beyond the work, plus old clothes or aprons.
Step by step
- Set up flat. Lay the surface flat on the floor or a low table where you can walk around it.
- Plan a palette. Choose three or four colours. More than that tends to turn into a muddy brown.
- Start with a light colour. Dip a stick in the first colour, lift it above the paper and let the paint run off in a thin stream while you move your arm across the sheet. Try loops, long straight runs and small dots.
- Vary the height. Paint dropped from close to the surface gives a controlled line; from higher up, it spreads and splatters.
- Add contrast. Introduce a darker colour and a bright accent. Drip into wet paint for soft blending, or wait until it dries for crisp lines.
- Step back. Look at the whole surface from a distance and decide where it needs more energy or more calm.
- Dry flat. Thin drips dry quickly; pools of paint can take a day or more.
Variations
- Running drips. Load the top edge of an upright board with fluid paint and let it run down in vertical streams.
- Swinging pendulum. Hang a paper cup with a small hole on a string over the paper, fill it with thin paint and set it swinging, in the spirit of Ernst’s punctured bucket. Supervise carefully; it is messy.
- Drip on crumpled paper. Crumple and reopen a sheet first, then drip ink over it. The creases deflect the drips and catch pools of colour, combining drip painting with the froissage technique.
- Drip and blow. Drop paint and then blow it with a straw, as in blow painting with straws.
Common mistakes
- Paint too thick. It sits in blobs instead of flowing. Thin it.
- Paint too thin. It spreads into washes and soaks the paper. Add more paint.
- Too many colours. The surface turns to mud. Limit the palette.
- Overworking. Drip paintings lose energy when every gap is filled. Stop earlier than you think.
- Lifting too soon. Moving wet work makes pools run. Leave it flat to dry.
Teaching drip painting
Children enjoy the physical side of drip painting, but the lesson is richer if you link it to looking and talking. Before painting, show pupils a museum image of a Pollock or Sobel and ask what they think the artist did with their body. After painting, ask them to find shapes in their drips, as in pareidolia in art, and compare drip painting with string pull painting, where the paint is dragged rather than dropped. For a full lesson on chance, see our froissage lesson plan.
Frequently asked questions
What is drip painting?
An art technique, often abstract, in which paint is dripped or poured onto the canvas or paper rather than applied with a brush stroke. The marks come from the flow of the paint, the height it falls from and the movement of the hand.
Who invented drip painting?
No single person. Max Ernst swung a punctured bucket of paint over a horizontal canvas; Janet Sobel made poured, all-over paintings such as Milky Way (1945); Jackson Pollock developed the technique most famously between 1947 and 1950. Pollock had also encountered liquid paint at David Alfaro Siqueiros's experimental workshop in New York in 1936.
What paint is best for drip painting?
Paint thinned to about the consistency of single cream. For children, washable poster or tempera paint thinned with water. For adults, fluid acrylics or acrylic paint mixed with a pouring medium. Pollock used household enamel paints, which are not suitable for indoor home use because of their fumes.
Should the canvas be flat or upright?
Flat if you want controlled lines and pools. Pollock laid his canvases on the floor because fluid paint would run on an upright surface. If you deliberately want long running drips, like those in the photo on this page, prop the surface upright and let gravity pull the paint down.
Is drip painting suitable for children?
Yes, with washable paint, squeeze bottles or spoons, and a lot of floor covering. Do it outdoors if you can. It is a good companion to other chance techniques such as blow painting and string painting.
Sources
Editorial team
The Froissage.com editorial team researches the history of froissage from museum, encyclopedia and publisher sources and writes practical guides to the technique.