Classroom
Bubble Painting: How to Print Colourful Bubble Patterns
Written by Froissage Editorial Team · Updated
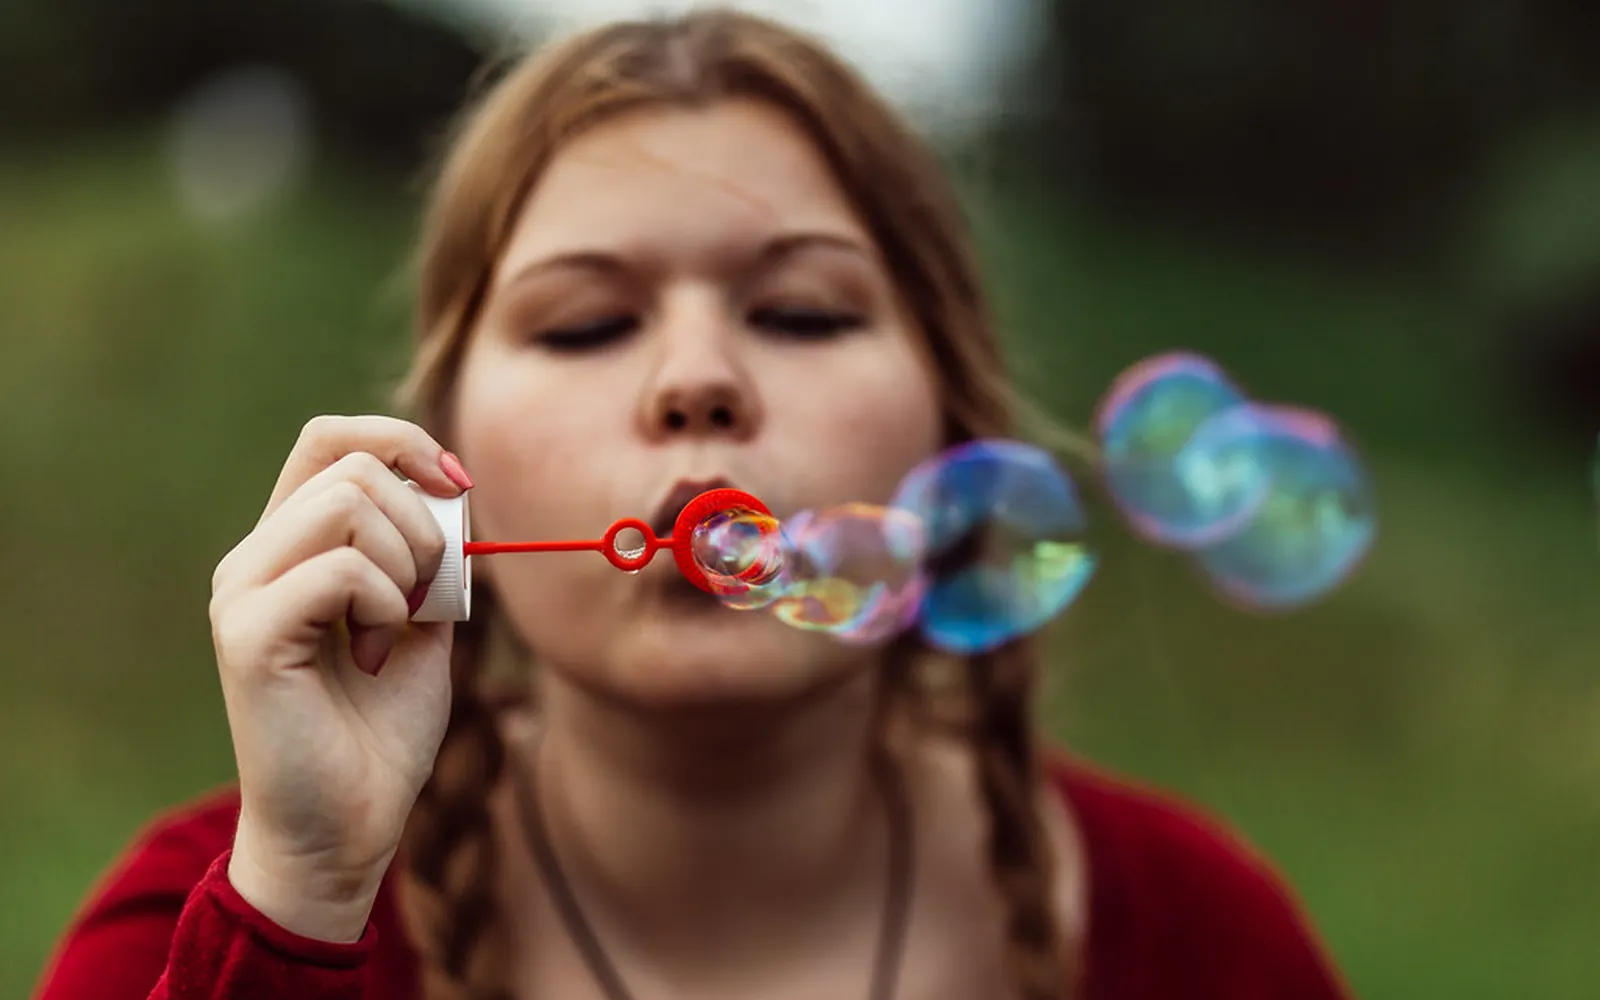
Bubble painting is one of the most joyful chance techniques you can try with children, and it produces patterns no brush could make. You blow through a straw into a cup of paint mixed with bubble solution until coloured bubbles foam over the rim, then let them land on paper or press a sheet onto them. When each bubble pops, its thin film of coloured liquid leaves a delicate ring or net of lines, a precise record of the bubble’s shape. Overlap several colours and the paper fills with interlocking circles that look like cells, lace or galaxies.
Like froissage, bubble painting hands most of the decisions to the material. You choose the colours and where to print; the bubbles decide the pattern. Then comes the looking, which is where the art really happens.
Why bubbles leave patterns
The Franklin Institute, a science museum in Philadelphia, explains that bubbles are pockets of air surrounded by a skin or membrane, a thin layer of liquid between two layers of soap. When paint is mixed into the solution, that membrane carries colour. Bubbles that cluster share walls, which is why groups of bubbles form polygons rather than perfect circles. When a bubble touches the paper and pops, the liquid left behind outlines the membrane: you get a ring for a single bubble and a network of lines for a cluster.
So every bubble painting is also a small science record. Children can see that big bubbles leave big rings, that clusters leave honeycomb-like shapes and that a bubble pressed flat leaves a solid blot rather than a ring.
Materials
- Paint: tempera, poster or washable paint in three to five colours. Strong, saturated colours work best.
- Bubble solution, or water with a drop or two of washing-up liquid.
- Cups: one per colour, wide enough to blow into without tipping. Many guides use 8 to 12 oz (about 250 to 350 ml) cups.
- Straws: one per child, paper or reusable. Never share straws.
- Paper: thick, absorbent paper such as cartridge, construction or watercolour paper.
- A tray or wipe-clean table cover and aprons.
The mix
The Franklin Institute suggests mixing about two tablespoons of paint with three tablespoons of bubble solution in each cup. If you are using water and washing-up liquid instead of bubble solution, start with the same proportions and add the soap a drop at a time. Too little soap and the mix will not foam; too much water and the colour will be pale.
Test the mix by blowing into it once. You want a dome of bubbles that rises over the rim and holds for a few seconds.
Safety first: blow, do not suck
The only real hazard in bubble painting is a child sucking the mixture up the straw instead of blowing out. The Franklin Institute advises taking care not to inhale the mixture, notes that a small amount is not harmful, and suggests letting young children practise blowing through a straw into plain water first. Other sensible precautions:
- Non-toxic paint only. The University of Dundee’s Art at the Start programme recommends non-toxic, water-based paint.
- Adult blowing for the youngest. If a child might suck rather than blow, an adult can blow the bubbles and the child does the printing.
- A small hole in each straw. Some educators prick a small hole near the top of each straw with a pin, which makes it much harder to draw liquid up.
- One straw per child, labelled if necessary.
- Over a tray or outdoors, because cups tip and foam spills.
Step by step
- Set up. Cover the table, place the cups of mixed colour on a tray and give each child a straw and a sheet of paper.
- Practise. Children blow out into a cup of plain water until they are confident.
- Blow. Put the straw into the paint mix and blow gently and steadily. A dome of coloured bubbles rises above the rim.
- Print. Choose one of two methods:
- Spill method: stand the cup on the paper and keep blowing until the bubbles spill over and land on the sheet around it.
- Press method: lower a sheet of paper lightly onto the bubble dome, without pushing down into the cup, then lift it straight off.
- Look. Lift the paper and look at the rings and nets. Some bubbles leave rings, others pop on contact and leave a blot.
- Layer. Repeat with a second and third colour, overlapping the prints.
- Dry. Leave the sheets flat to dry. They dry quickly because the film of paint is thin.
Each print is unique and cannot be repeated exactly, so bubble painting behaves like a monoprint, which Tate describes as a print that can only be made once. Our guide to crumpled paper printing shows another kind of one-off print made with very simple means.
Getting better results
- Pale prints: add more paint to the mix.
- No bubbles: add more soap, or use ready-made bubble solution.
- Bubbles pop before printing: blow more slowly and print straight away.
- Paper tears or buckles: use heavier paper, and do not press down hard.
- Muddy colours: let each colour dry a little before overlapping, or limit yourself to two or three colours that mix well.
Ideas for using bubble paintings
- Under the sea. Use blues and greens and draw fish, jellyfish and seaweed among the bubbles.
- Space. Print on dark paper with white, yellow and pale blue for galaxies and planets.
- Find a creature. As with froissage, turn the dry print around and look for faces and animals in the overlapping rings, then outline them in pen. Our page on pareidolia in art explains why we see them.
- Collage. Cut bubble papers into shapes for collage, as in froissage collage.
- Cards and wrapping paper. Bubble prints on large sheets make good gift wrap.
Chance techniques to try next
Bubble painting fits into a family of simple chance techniques that work well together in a lesson or holiday workshop:
- Blow painting with straws: blowing drops of runny paint across paper.
- String pull painting: pulling paint-soaked string through a folded sheet.
- Watercolor salt technique: sprinkling salt into wet paint.
- Drip painting technique: letting paint fall from a stick or bottle.
- Froissage for kids: crumpling paper, opening it and washing it with ink.
Run three or four of them side by side and ask pupils which one gave them the most control and which gave the most surprises.
Cleaning up
Bubble painting is wet but easy to clear away if you plan for it. Keep a bucket of water and a cloth at each table, empty the cups into a sink rather than a drain outside, and rinse straws straight away if they are reusable. Washable paint comes out of most fabrics if it is rinsed before it dries, so deal with spills on clothes promptly. Lay finished prints on a drying rack or along a corridor floor on newspaper; because the paint film is thin, most sheets are dry within an hour and can be pressed flat under a few books the next day.
Frequently asked questions
How do you make bubble painting mixture?
Mix tempera or washable paint with bubble solution, or with water and a drop or two of washing-up liquid, in a cup. The Franklin Institute suggests about two tablespoons of paint to three tablespoons of bubble solution. Adjust until the mix still foams well but carries strong colour.
Is bubble painting safe for young children?
It is safe with supervision and washable, non-toxic paint, but children must blow out and not suck in. Practise with plain water first, give each child their own straw, and for very young children let an adult do the blowing. Some guides suggest pricking a small hole near the top of each straw, which makes sucking up liquid much harder.
What paper is best for bubble painting?
Thick, absorbent paper such as cartridge, construction or watercolour paper. Thin printer paper wrinkles and tears when wet and does not hold the colour well.
Why are my bubble prints pale?
The mix contains too little paint. Add more paint, use strongly pigmented colours, or let the bubbles pile up and pop several times in the same place.
What can I do with bubble paintings?
Use them as backgrounds for drawing, cut them up for collage, turn them into cards or wrapping paper, or look for creatures and scenes in the patterns and draw them out with a pen.
Sources
Editorial team
The Froissage.com editorial team researches the history of froissage from museum, encyclopedia and publisher sources and writes practical guides to the technique.