Technique
Decalcomania Art Technique: History and How to Do It
Written by Froissage Editorial Team · Updated
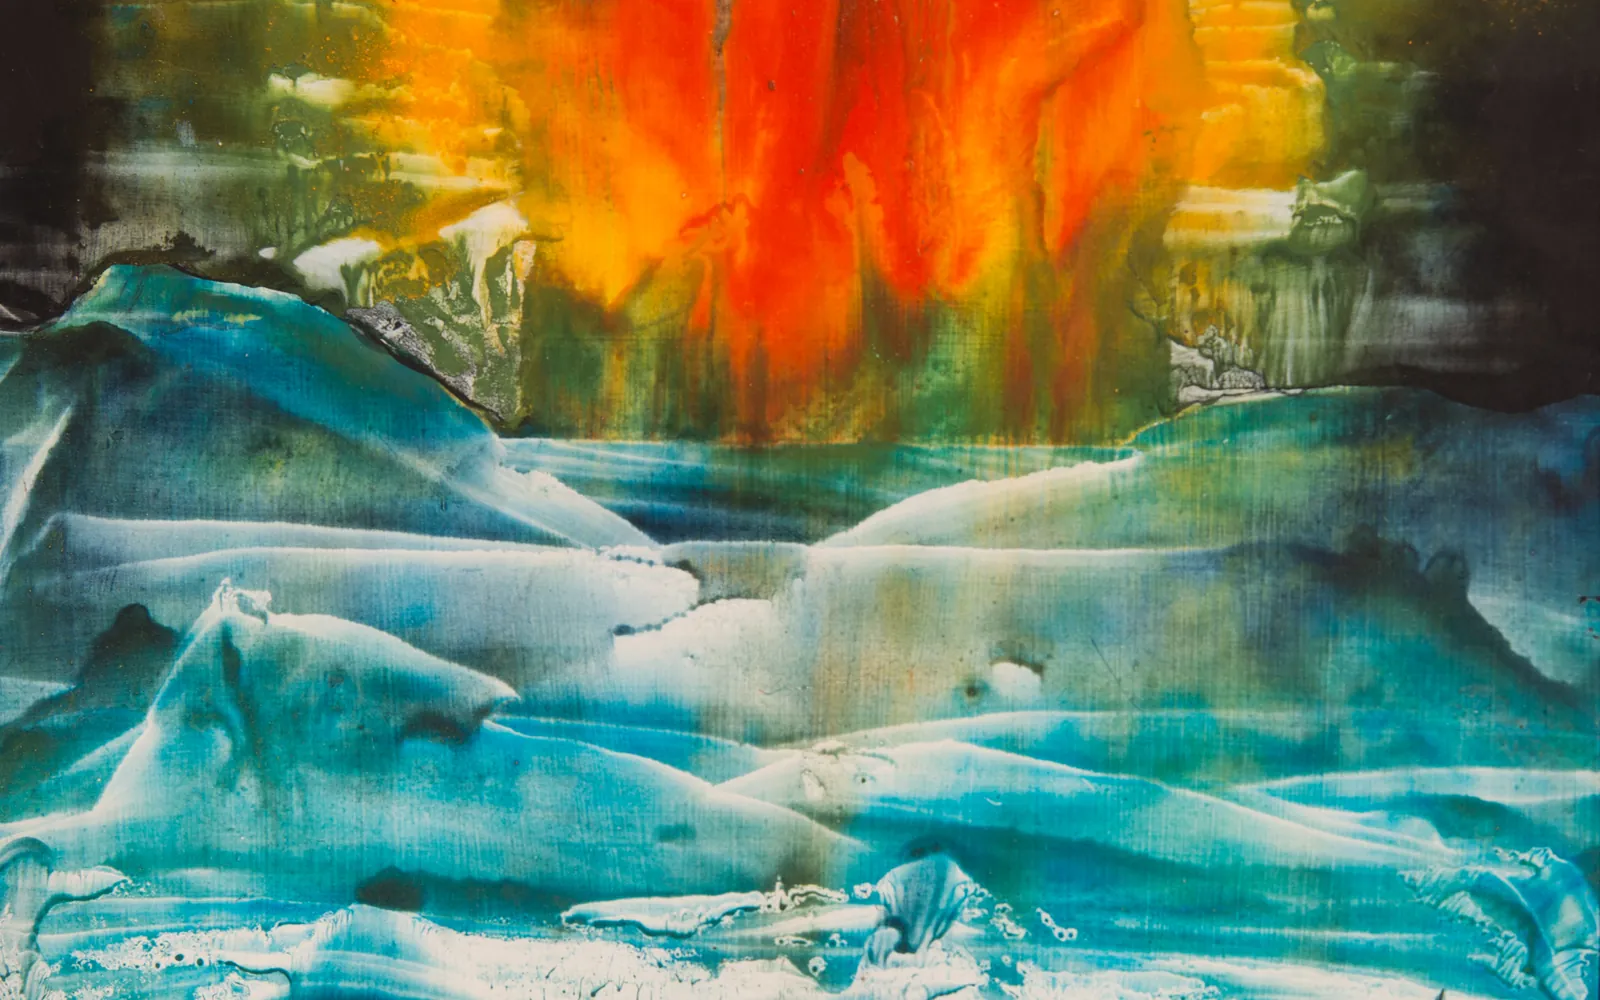
The decalcomania art technique is one of the simplest ways to make an image appear without drawing it. You spread wet paint on a surface, press a second sheet or a pane of glass onto it, and pull the two apart. The paint splits into branching veins, tiny caves and forests of ridges that no brush could make by hand. Then you look into the texture and decide what it shows. This guide covers where the technique comes from, how the Surrealists used it and a reliable method you can try at home or in class.
What decalcomania is
Tate describes decalcomania as a blotting process in which paint is squeezed between two surfaces to create a mirror image. In practice there are two families of method:
- Folded decalcomania. Paint is put on one half of a sheet, the sheet is folded, pressed and opened. The result is roughly symmetrical, like the familiar folded “butterfly” painting.
- Pressed decalcomania. Paint is spread on one surface and a separate sheet, a pane of glass or a piece of foil is pressed onto it and lifted. The result is not symmetrical and gives the branching, coral-like textures most associated with Surrealist painting.
Either way, the artist controls the colours, the amount of paint and the pressure, but not the exact pattern. That mixture of choice and chance is what links decalcomania to froissage, where the pattern comes from the creases of crumpled paper.
From craft process to Surrealist method
The word comes from the French décalcomanie, built on décalquer, “to transfer a tracing”. In the 19th century decalcomania was a commercial transfer process: printed designs were transferred onto ceramics, glass and other objects. Wikipedia notes that it became popular in the ceramic transfer craze of the mid-1870s and was later mechanised.
The art technique came later. In 1936 the painter Óscar Domínguez, from Tenerife in the Canary Islands, began pressing black gouache between sheets of paper and called the results “decalcomania with no preconceived object”. He introduced the method to the Surrealist circle in Paris, where it was adopted quickly. Tate associates the technique above all with Domínguez and Max Ernst, who used the textures as starting points for landscapes and mythical creatures. Yves Tanguy made decalcomanias in 1936, and Hans Bellmer and Remedios Varo also used the method.
The technique travelled to Prague, too. Jindřich Štyrský, a founder of the Surrealist Group in Czechoslovakia, made decalcomanias on paper in 1936; one of them is shown on our Czech surrealism page. This is part of the background from which Ladislav Novák’s froissage later emerged.
We do not reproduce Domínguez’s or Ernst’s decalcomanias here because they are still protected by copyright. Museum collection websites show many of them.
Why the Surrealists valued it
The Surrealists wanted ways of making images that bypassed conscious control, an idea they called automatism. Decalcomania suited this perfectly. The artist sets up the conditions and the paint does the rest. What appears often looks organic, like moss, lichen, coral or the inside of a cave, and invites the viewer to see creatures and landscapes. Ernst in particular developed decalcomania textures into imaginary landscapes. The same principle, letting an accident suggest a picture, runs through frottage, fumage and froissage. Our overview of Surrealist art techniques compares them side by side.
Materials
- Paint: gouache is the easiest; poster paint works for children; acrylic works if you work quickly; oil paint thinned slightly gives softer textures but takes days to dry.
- Base sheet: smooth paper of around 120-200 gsm, mixed-media paper, or smooth card. Very absorbent paper soaks up the paint before you can press it.
- Pressing surface: a second sheet of paper, a pane of glass with taped edges, a sheet of acetate, or aluminium foil.
- Extras: a wide brush or palette knife, a fine brush or pen for details, kitchen paper, and plenty of newspaper.
Variations to try
Glass decalcomania. Pressing with glass lets you see the paint spread through the pane, so you can stop when the texture looks right.
Two-colour veins. Put two contrasting colours next to each other. When the sheets are pulled apart, the colours interlock in fine branches.
Partial decalcomania. Mask part of the sheet with paper before pressing. The masked area stays clean and becomes a sky or a figure.
Decalcomania plus froissage. Crumple and flatten a sheet first, then make a decalcomania on it. The paint catches on the creases, and the two kinds of chance texture overlap. Our froissage step-by-step guide explains the crumpling stage.
Collage. Cut decalcomania textures into shapes and use them as rocks, trees or animal skins in a collage, as in our froissage collage projects.
Common problems and fixes
- Flat, smeared texture: too much pressure or sideways rubbing. Press straight down and lift without sliding.
- No branching: the paint is too thin or has dried. Use creamier paint and press within a minute.
- Paper buckles: use heavier paper or tape the sheet to a board before you start.
- Muddy colour: too many colours mixed in one area. Limit yourself to two or three and leave white space.
Decalcomania in the classroom
Decalcomania is a reliable lesson because every pupil gets an interesting result. A simple sequence is: a short look at how the Surrealists used chance, ten minutes of making decalcomanias, a drying break, and then a “find the creature” drawing session on the dry sheets. Pairing it with froissage lets pupils compare two kinds of accident. Ideas for structuring that lesson are in our froissage lesson plan.
Keep cleanup simple: gouache and poster paint wash out with water, and glass panes should always have taped edges when children use them.
Frequently asked questions
What is decalcomania in art?
Decalcomania is a transfer technique in which wet paint is spread on a surface, another sheet or a pane of glass is pressed onto it and then lifted away. The paint splits into ridges, veins and bubbles that the artist can leave as they are or develop into landscapes, creatures or figures.
Who invented decalcomania?
Transfer processes called decalcomania already existed in the decorative arts in the 19th century. As an art technique it is associated with the Canary Islands painter Óscar Domínguez, who took it up in 1936 and introduced it to the Surrealist circle in Paris.
What paint is best for decalcomania?
Gouache is the classic choice because it stays wet long enough to press and gives crisp, velvety textures. Acrylic works if you move quickly; slightly diluted oil paint gives the soft, mossy textures seen in some Surrealist paintings but needs a long drying time.
Is decalcomania suitable for children?
Yes. Folding a sheet with blobs of poster paint inside and opening it again is a simple form of decalcomania that young children enjoy. Older pupils can then draw into the dry pattern, as in froissage.
What is the difference between decalcomania and froissage?
In decalcomania the texture comes from paint being squeezed and pulled apart. In froissage it comes from the creases of a crumpled sheet that collect ink or watercolour. Both are chance techniques followed by interpretation.
Sources
Editorial team
The Froissage.com editorial team researches the history of froissage from museum, encyclopedia and publisher sources and writes practical guides to the technique.