Classroom
Blow Painting with Straws: A Chance Art Technique for Kids
Written by Froissage Editorial Team · Updated
Blow painting with straws is one of the simplest ways to show children, and adults, how chance can make pictures. Drop a pool of runny paint on a sheet of card, blow through a straw, and the paint races off in thin, branching lines you could never draw with a brush. Then comes the second half of the game: looking at the shapes and deciding what they are. This guide covers materials, technique, project ideas and the hygiene rules that make it work in a classroom.
Why it works
Liquid paint on a smooth surface moves wherever the air pushes it. A short puff sends a line forward; when it slows, its front edge breaks into smaller streams, and those split again. The result is a branching structure similar to tree limbs, rivers or veins. You steer the general direction, but not the details. That balance between control and accident is what links blow painting to froissage, where the artist chooses how to crumple but not where each crease falls (see how to do froissage).
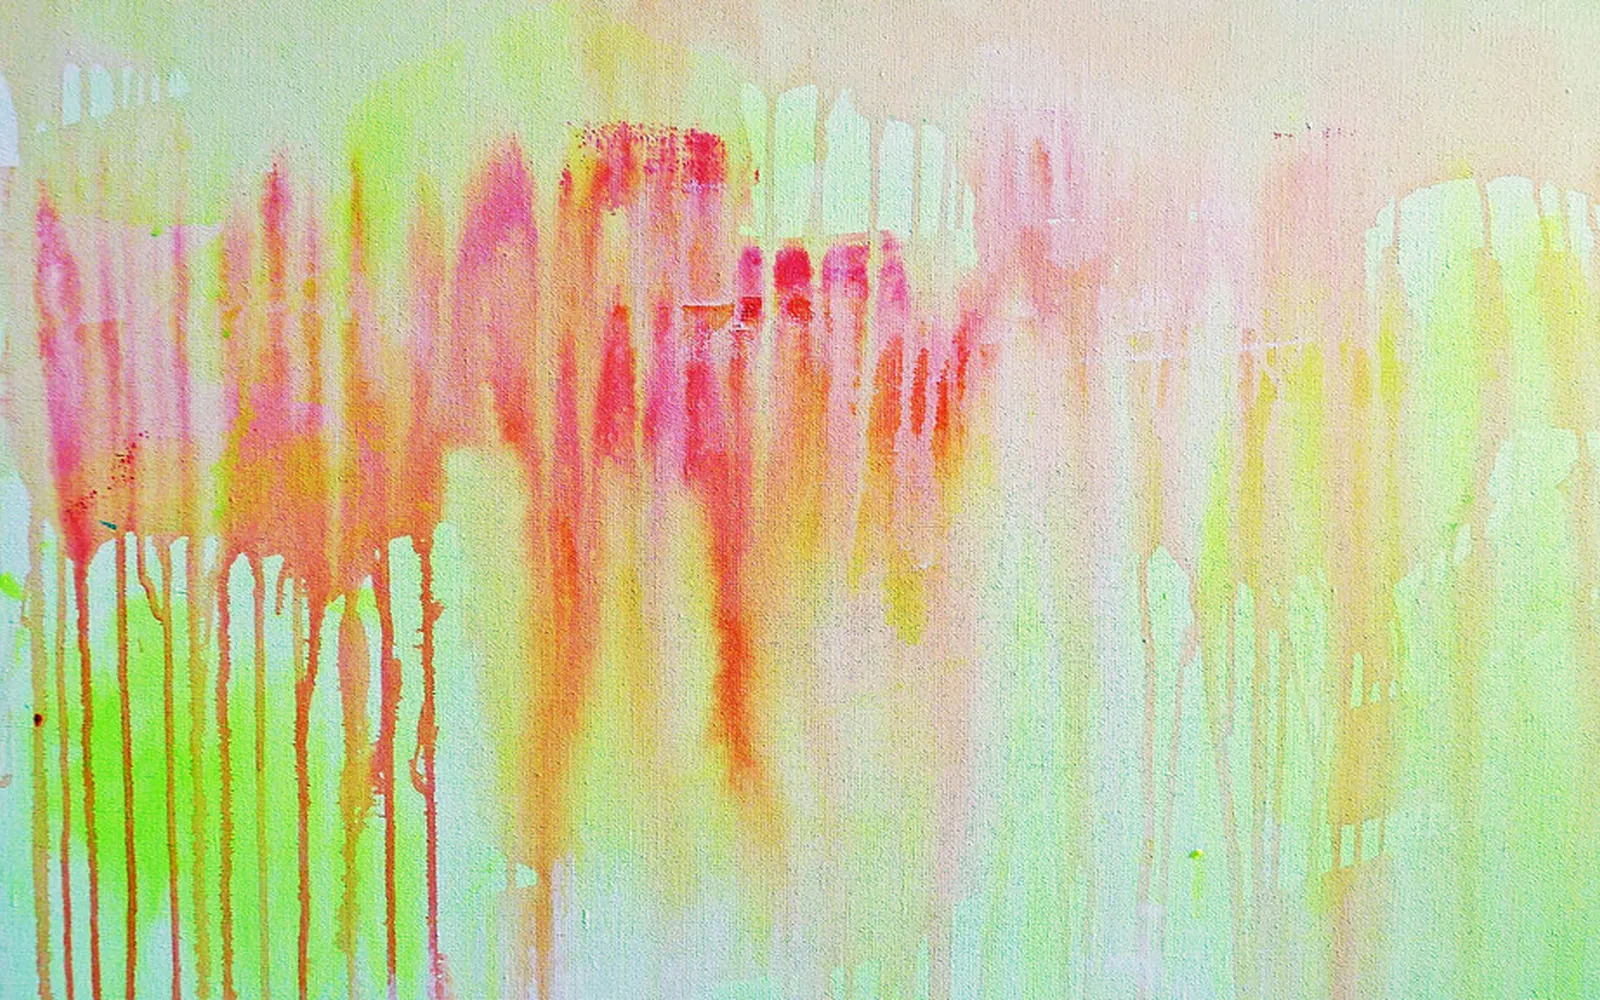
Artists have long welcomed this kind of half-control. Tate’s glossary entry on automatism describes how the Surrealists tried to make art without conscious control, and the drip painting of the mid-20th century let gravity and movement shape the line. Blow painting is a small, playful relative of both.
Materials
- Paint: liquid watercolour, diluted drawing ink, or poster paint thinned to the consistency of milk.
- Paper: smooth, heavy paper or thin white card. Glossy card lets paint travel furthest.
- Straws: one per person. Paper straws work but go soft; reusable straws should be washed between users.
- Droppers or spoons to place the paint.
- Pens or crayons for adding details afterwards.
- Newspaper or a wipe-clean table cover.
Technique step by step
- Place the paint. A pool about the size of a coin is enough. For a tree, place it near the bottom edge; for a firework or a spider, in the middle.
- Aim the straw. Hold the end close to the edge of the pool, almost touching the paper, and point it in the direction you want the line to go.
- Blow in short puffs. One long blow tends to spread paint in a fan. Short, firm puffs make thin lines.
- Branch the lines. When a line stops, blow at it from a slightly different angle. It will split. Repeat as many times as you like.
- Add colour. Drop a second colour where a line ends and blow it onwards. Where two wet colours meet, they mix.
- Dry flat. If you lift the sheet while it is wet, the paint will run.
Project ideas
- Winter trees. Blow brown or black ink upwards from the bottom edge. Add a horizon and a few dots of white paint for snow once dry.
- Wild hair. Draw a face near the bottom of the sheet first, then blow paint outwards from the top of the head for hair. Children love this one.
- Monsters. Blow a blot in several directions, then add eyes, teeth and feet. It pairs well with Halloween froissage monsters.
- Fireworks. Blow bright colours outwards from a central point on dark card; add glitter or white crayon dots.
- Coral and seaweed. Blow greens and pinks upwards from the bottom of a blue-washed sheet.
- Autumn branches. Blow the branches, then print leaves with fingertips, as a companion to autumn leaves crumpled paper art.
The looking stage
The most valuable part comes after the paint dries. Ask each child to turn the sheet in all four directions and say what they see: a dancer, an insect, a river, a bolt of lightning. This is pareidolia, the habit of seeing figures in random shapes, and it is the same skill a froissage artist uses to find images in creases. Our page on pareidolia in art explains the history, from Leonardo da Vinci’s advice about stained walls to Alexander Cozens’ blots.
Then let them develop just one idea with a pen. Keep the additions light so the blown lines remain the main feature.
Hygiene and safety in groups
- Give every child their own straw and write names on them if you reuse them in a session.
- Cut straws to about half length for young children: the mouth is closer to the paint and less breath is needed.
- Practise blowing out on the back of the hand before starting. Make sure children understand they must never suck.
- Use non-toxic paint and keep pots away from faces.
- Take breaks. Lots of hard blowing can make people feel light-headed; stop if anyone feels dizzy.
- Children with breathing difficulties can push paint with a small squeeze bottle or a hairdryer on a cool setting held by an adult.
Troubleshooting
- Paint will not move: it is too thick, or the paper is absorbing it. Add water, or switch to glossy card.
- Lines are fat and blobby: too much paint. Use a smaller pool and shorter puffs.
- Paper buckles: use heavier paper, or tape the edges down before starting.
- Colours turn muddy: limit each picture to two or three colours that mix well.
Combine with other chance techniques
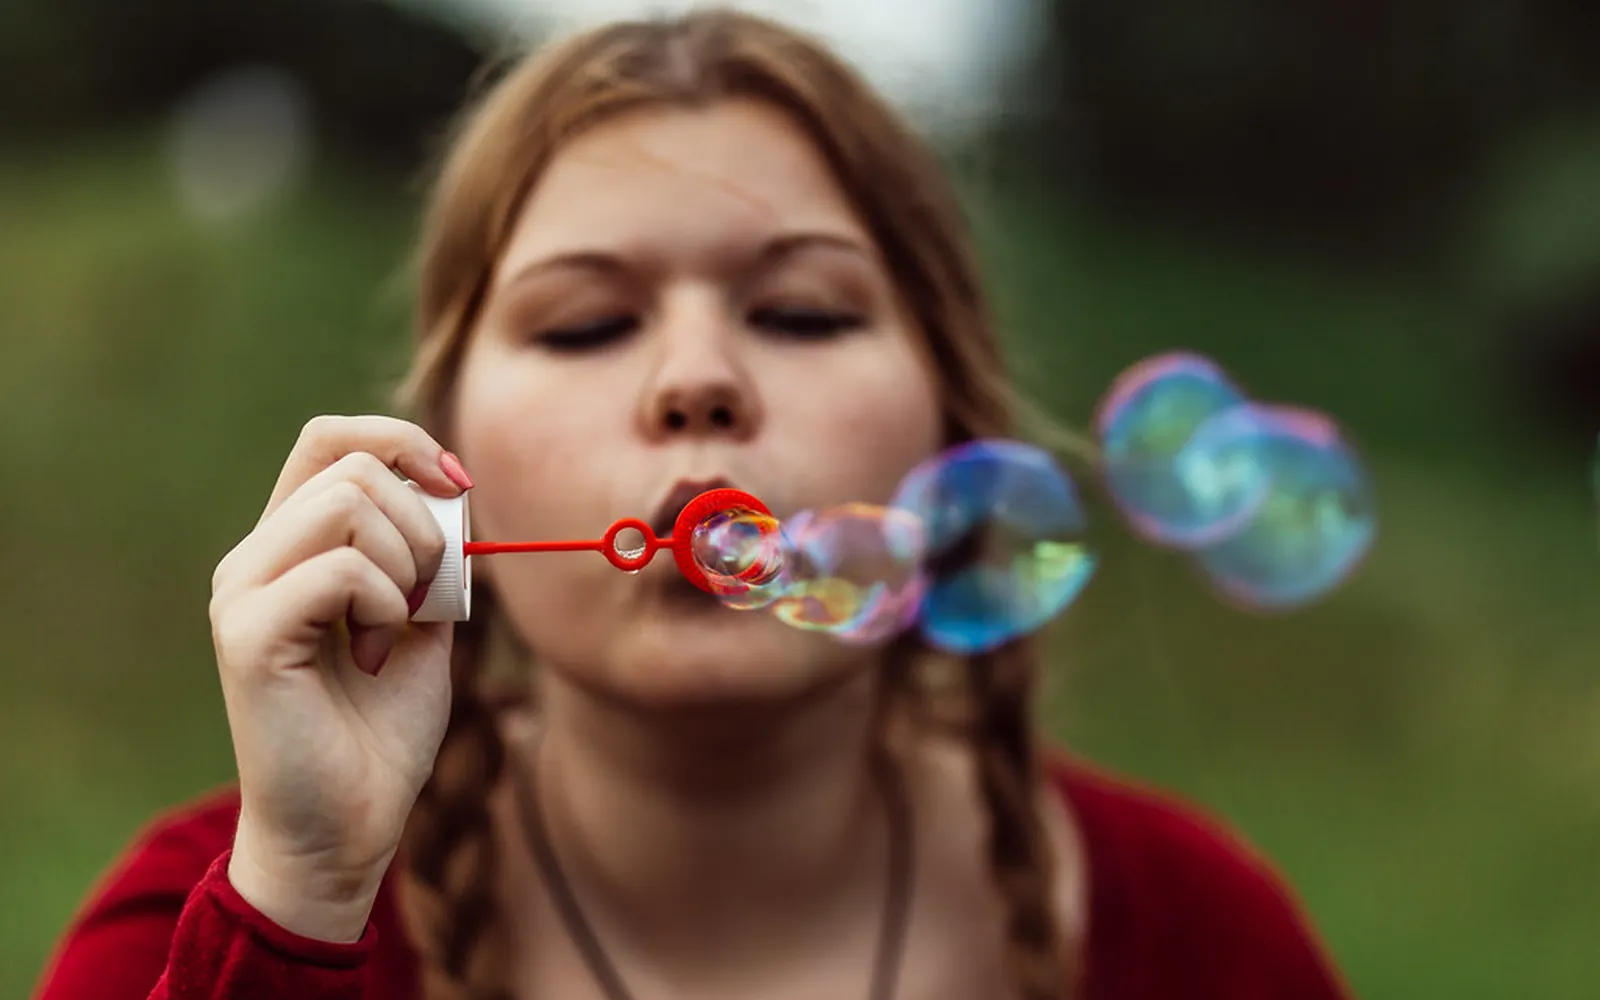
Blow painting sits naturally beside other techniques on this site. Try a blown tree over a crumpled paper landscape painting, or sprinkle salt into the wet paint, as described in our watercolor salt technique guide, for a starry texture. For another way of pulling lines through paint, see string pull painting. If children enjoy blowing through straws, bubble painting uses the same skill to print coloured bubble patterns, and drip painting lets gravity rather than breath move the paint.
Frequently asked questions
What paint is best for blow painting with straws?
Very fluid paint: liquid watercolour, diluted ink, or poster paint thinned with water until it runs like milk. Thick paint will not travel when you blow.
What paper should I use?
Smooth, fairly heavy paper or thin card. Glossy card makes the paint travel furthest. Thin printer paper buckles and absorbs the paint quickly.
Is blow painting safe for young children?
Yes with supervision. Use non-toxic paint, give every child their own straw, cut straws short so the mouth is closer to the paper and less breath is needed, and show them how to blow out before starting. Stop if anyone feels dizzy.
How is blow painting related to froissage?
Both are chance techniques. You start a process you only half control, then look at the result and decide what it could become. In froissage the lines come from creases; in blow painting they come from your breath pushing liquid paint.
Sources
Editorial team
The Froissage.com editorial team researches the history of froissage from museum, encyclopedia and publisher sources and writes practical guides to the technique.